 |
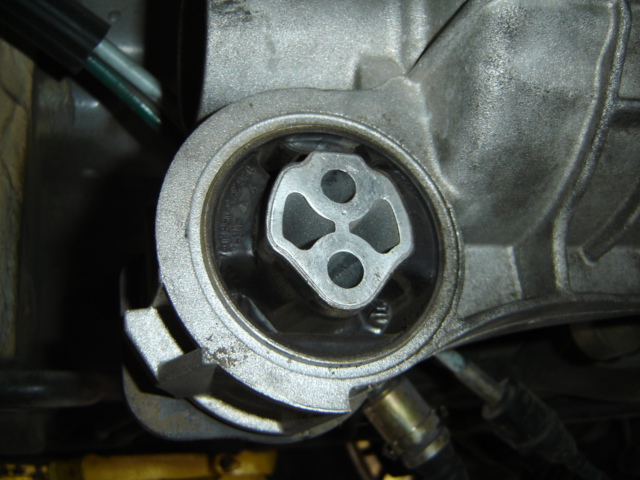 |
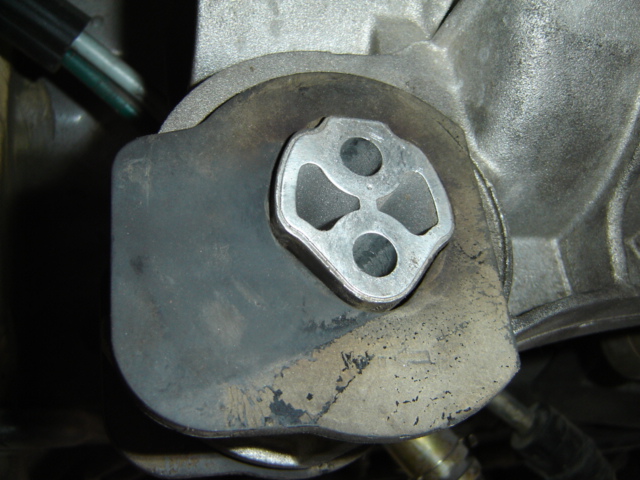
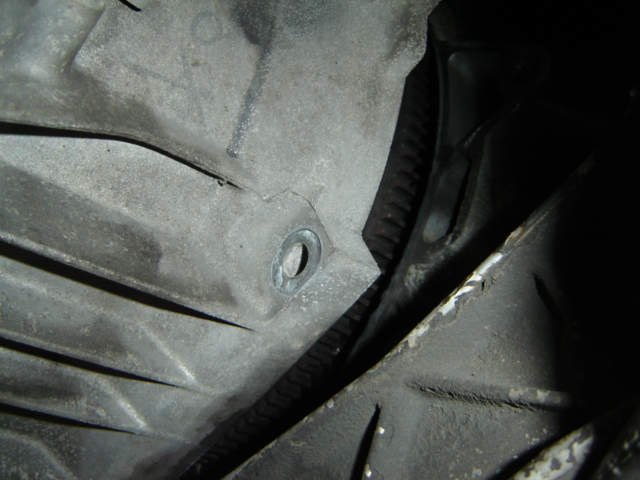
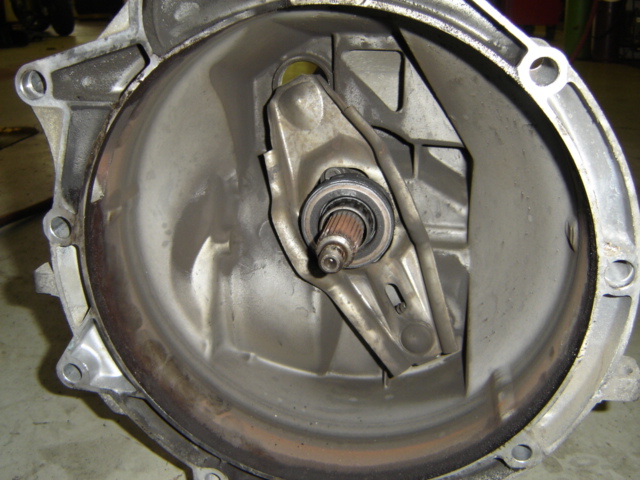
So far so good. We have now removed the bell housing bolts and the transmission brace and the transmission is loose. The two pictures show the front side of the transmission where the brace bolts on to. Do not misplace the rubber seal! |
 |
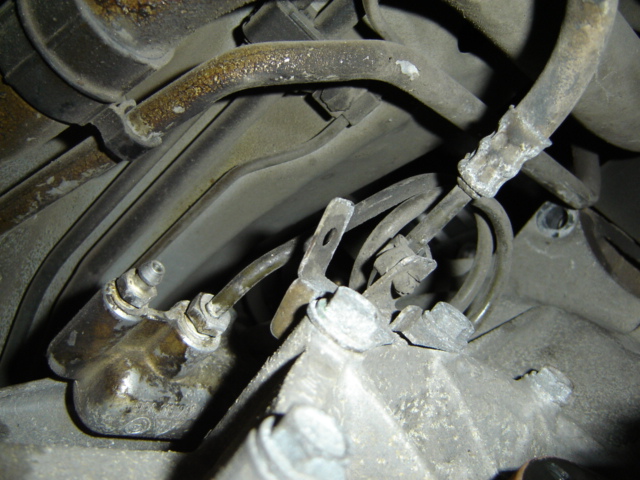 |
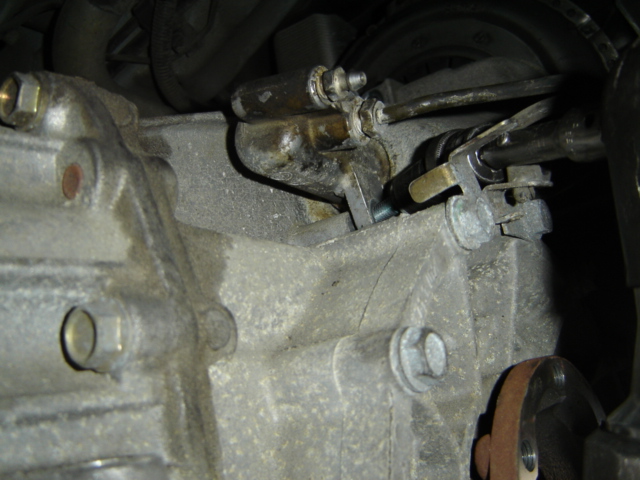
Before you slowly remove the transmission, you must remove the last item. The hydraulic clutch slave cylinder is located on the top side of the transmission and is bolted in with 2 bolts. Carefully undo these bolts and push aside the slave cylinder out of harms way. Be carefull that you do not damage the piston and the dust boot over the slave cylinder piston. |
 |
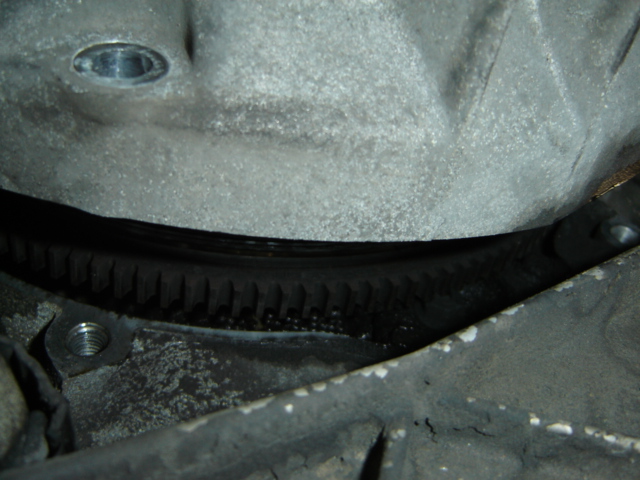 |
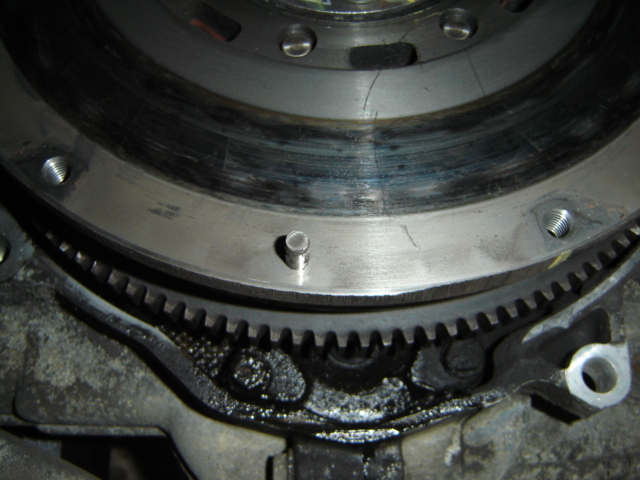
Next, slowly start removing the transmission from the engine block with a gentle rocking motion. You may need to use something to pry it apart initially but when you see the ring gear as shown in the pictures you must do the rest by hand. The transmission will slowly come out on its own, do not force the issue. |
 |
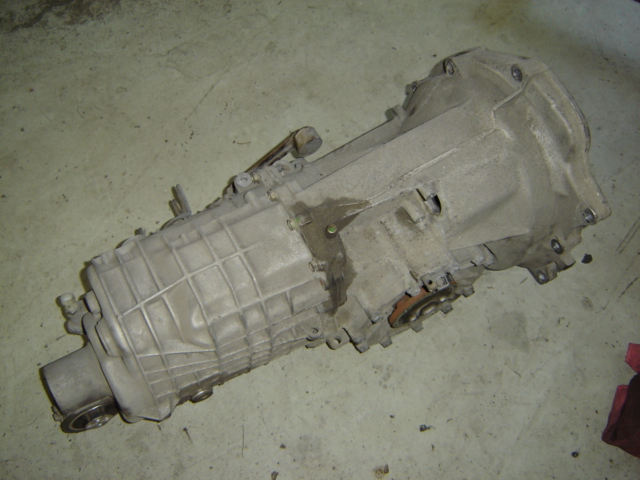 |
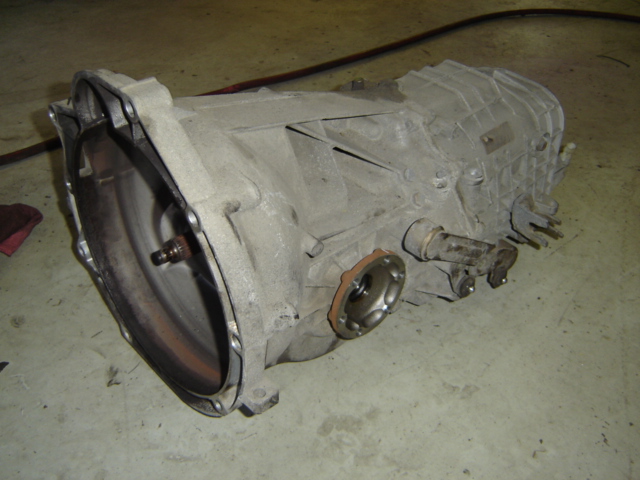
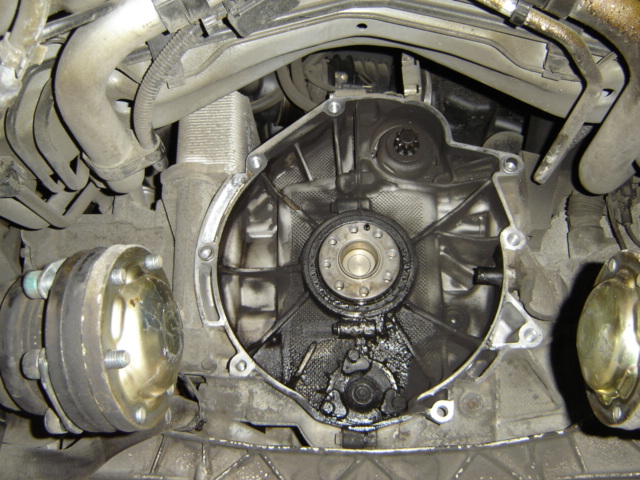
You have now completely removed the transmission from the car. Now is a good time to inspect the whole unit for leaks and damage. Ours looked pretty good with slight wear and tear from usage but ready to be re-installed. |
 |
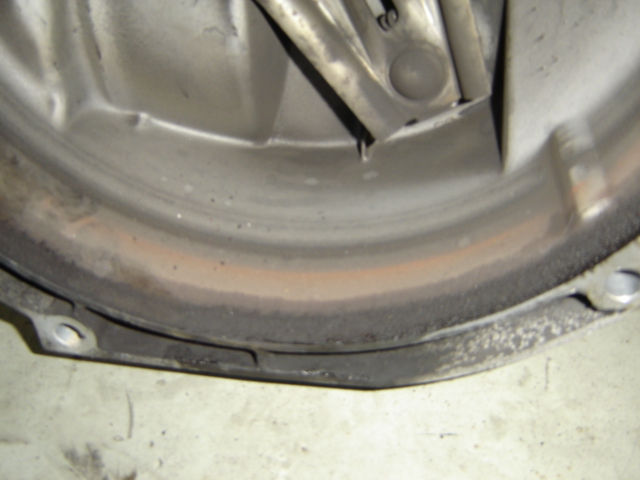 |
As you can clearly see there is some oil deposit on the bottom of the bell housing but not as much as we thought we would find. Instead we found quite a bit of clutch dust. A little to much for a brand new clutch? |
 |
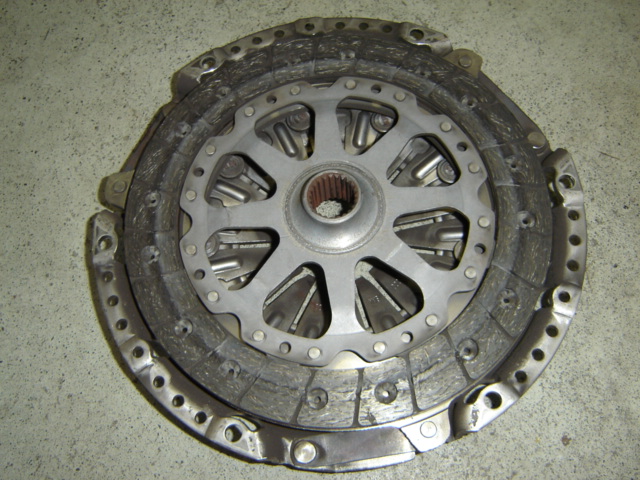 |
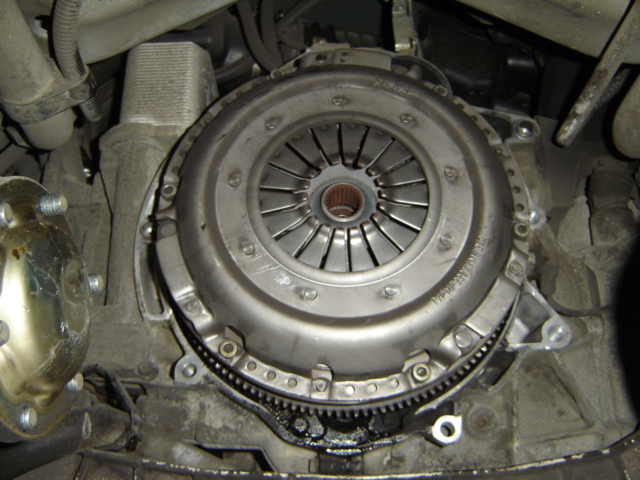
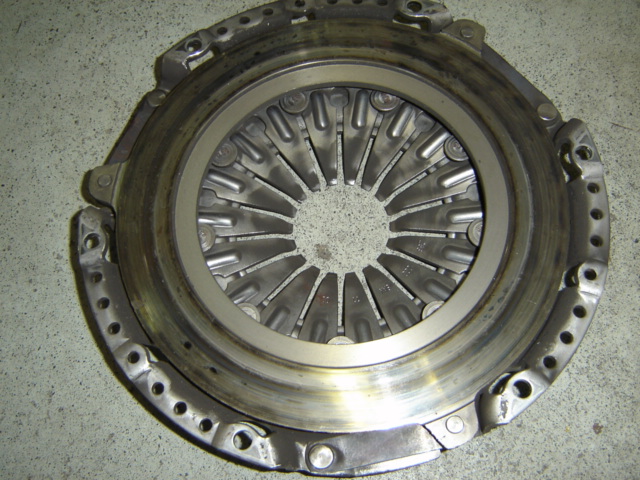
As you can see the pressure plate is bolted down by 6 hex bolts. Slowly remove those and viola you have removed your clutch. The latter picture shows the clutch resting on our pressure plate. To my surprise our new clutch was burnt! |
 |
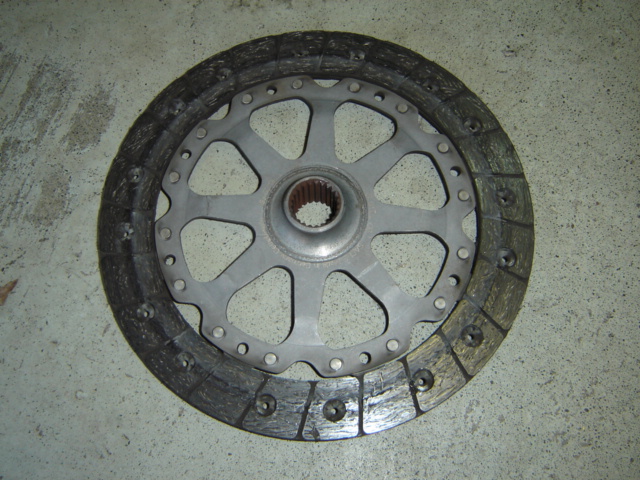 |
A quick inspection of our clutch and pressure plate showed many burn spots. As I had barely driven this car since I purchased it I assumed that the previous owner had lied when he told me he had "just" replaced the clutch. More on that issue to follow. |
 |
 |
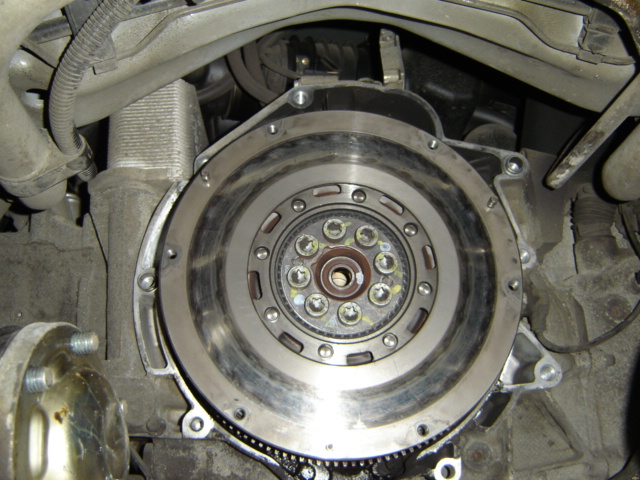
The next few images show the Porsche flywheel bolted onto the end of the crank with 8 Torx bolts. These bolts are NOT re-usable so unbolt them and throw them away. Be careful because the flywheel is a lot heavier than expected. |
 |
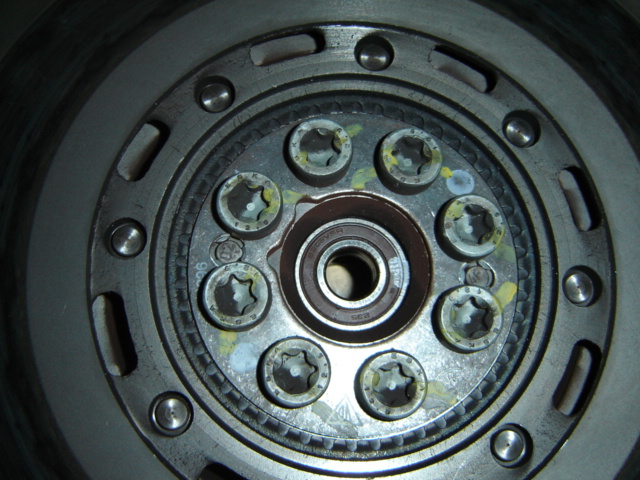 |
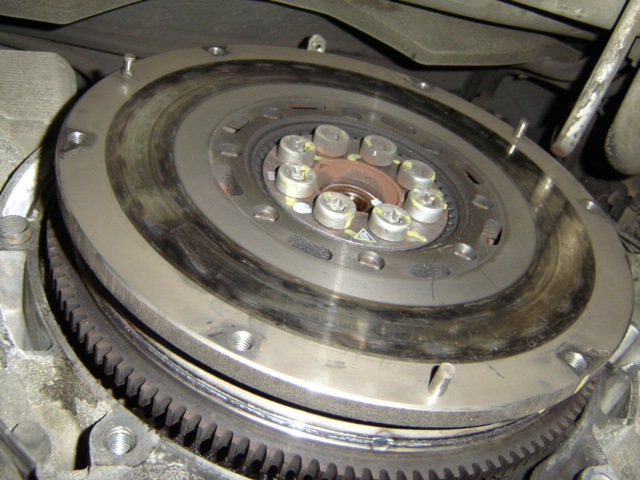
Even without the flywheel unbolted you should be able to see the oil leaking from underneath it. Ours to my amazement was heavily saturated. Also note the burn spots on our flywheel! The next image shows the factory yellow markings on the flywheel. This is for quality checking at the factory. Once again, these bolts are no good after initial use! |
 |
 |
There you have it ladies and gents. A Porsche RMS at full leak! Again, I was amazed at how much oil had leaked from this vehicle. I had never noticed it on the ground in my garage. I only noticed it when I did service on the car. Check your car regularly for any leak! |

