 |
 |
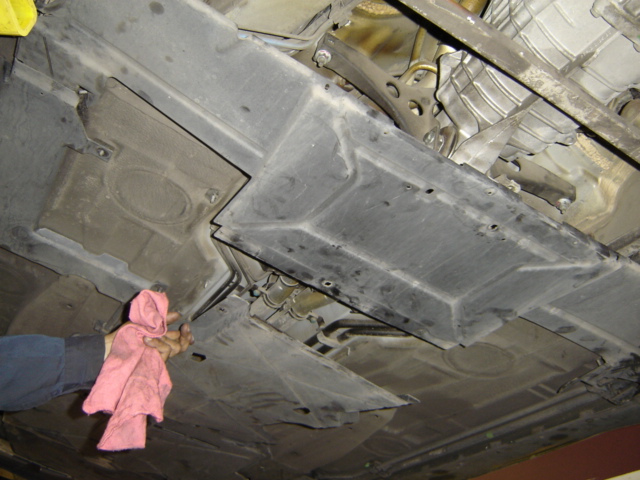
First things first, to make life easier, we decided to remove the under bodycovers. They are held in place by nylonic nuts. Make sure you take care while you remove these pieces especially on older cars. I found them to be brittle. |
 |
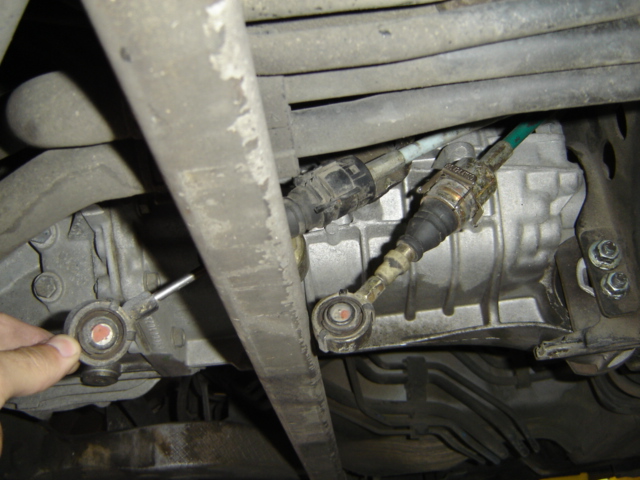 |
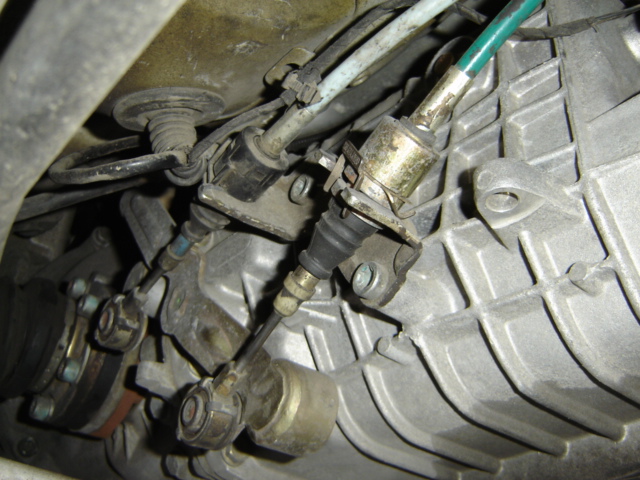
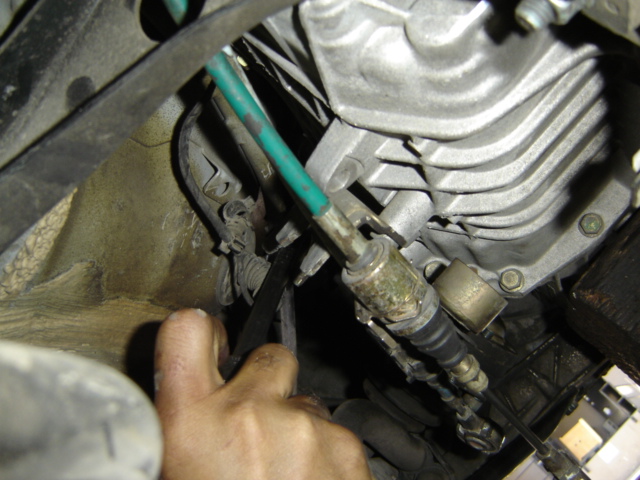
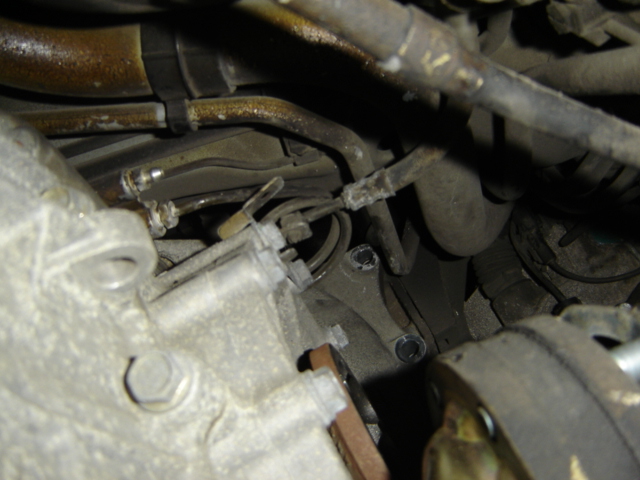
Your next step is to find and remove the shifter linkage from the driver side of the transmission. There are a few spring type clips that hold the cables in place and once they are removed the ball ends of the cables snap off with ease. |
 |
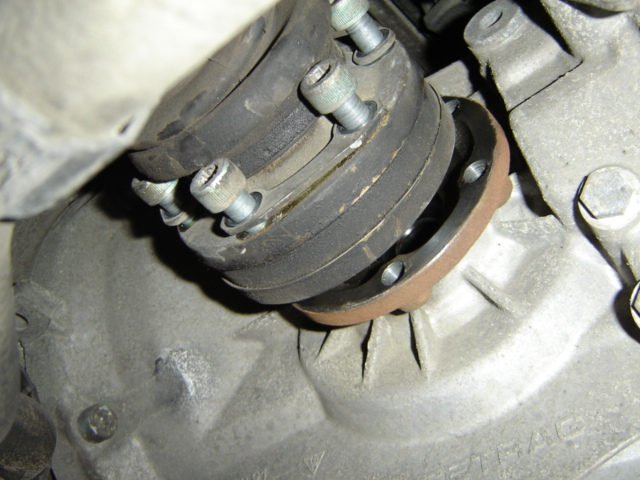 |
Now it is time to remove the rear axles. I don't know if it makes a difference but I used a yellow marker and marked exactly where the axles came from. I just wanted to have a spot to line them up when I was replacing them. Remove the six torx bolts on each axle on either side of the transmission. There is no need to remove the axles from the car completely, one side shall suffice. |
 |
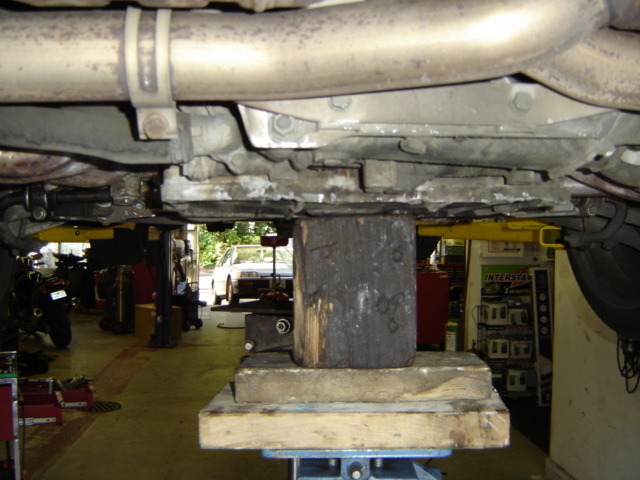 |
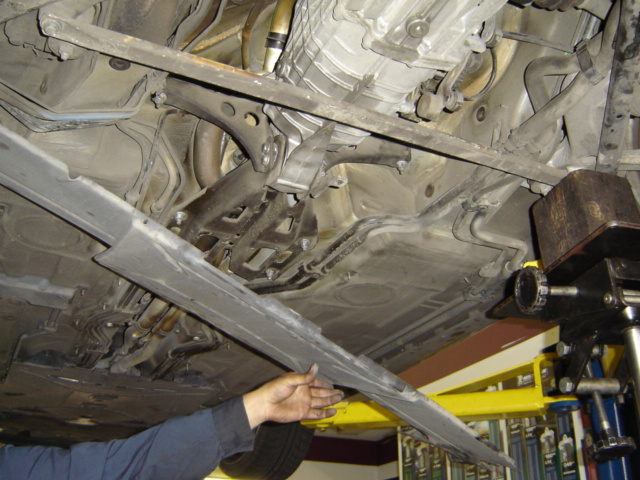
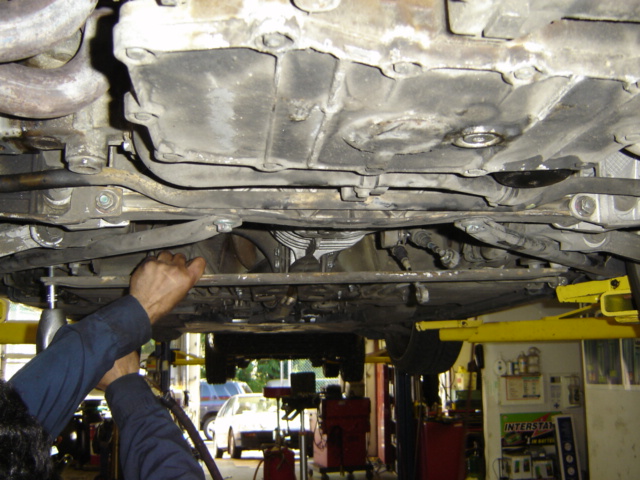
Once the axles have been unbolted, remove the chassis support brace underneath the car. This must be removed to remove the transmission. At the same time, I chose to reinforce the engine with a trannsmission jack just for added security. |
 |
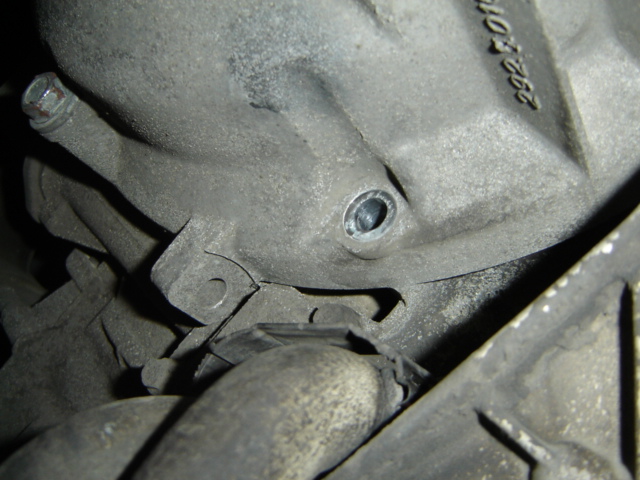 |
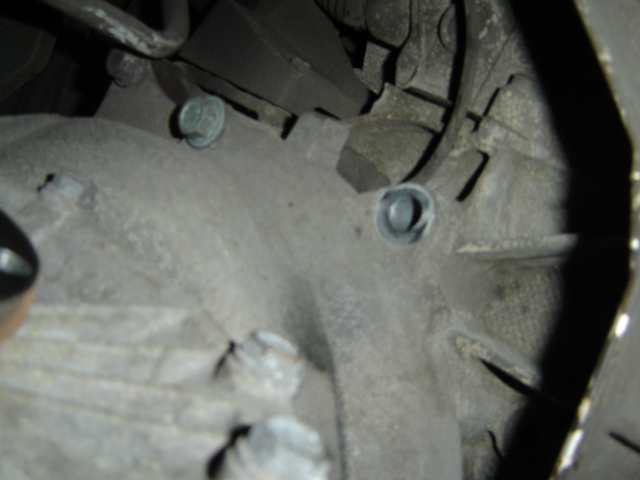
Time to unbolt the transmission. There are 8 Torx bolts. The top three being the most difficult to reach. A good set of extensions are needed here and a swivel. |
 |
 |
More pictures of the main transmission bell housing bolts that are being removed. Take your time here! |
 |
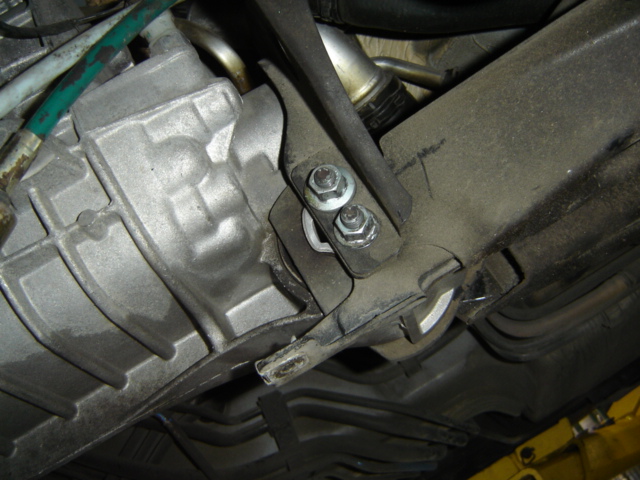 |
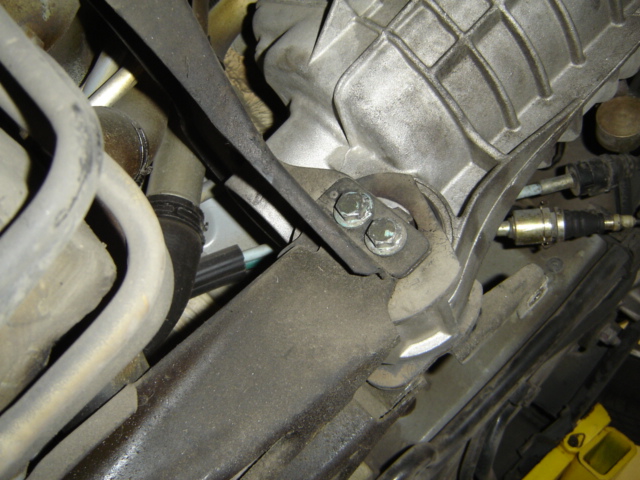
Next step is to remove the main transmission support brace. AS you can see there are 2, one is vertical and the other is lateral. The vertical brace holds the back of the transmission and the lateral brace bolts to the underbody of the vehicle. |
 |
 |
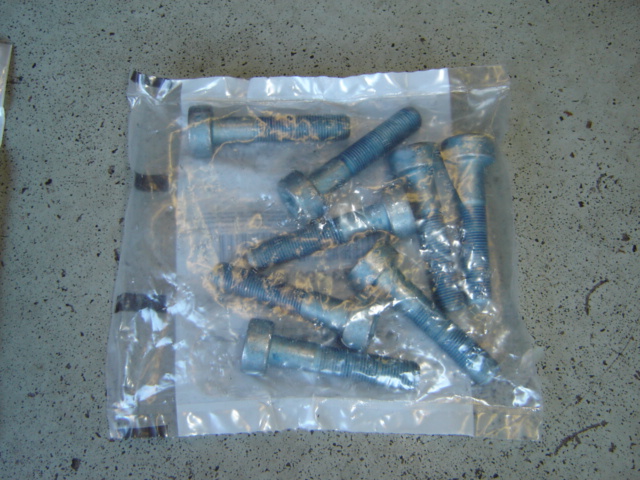
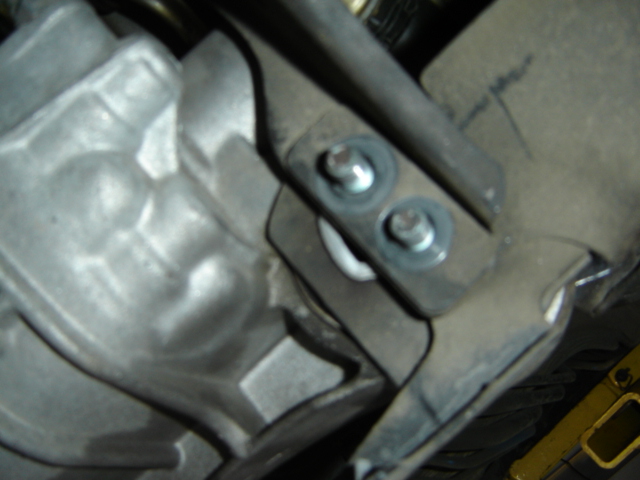
Unbolt the two bolts holding the vertical brace to the lateral brace. These are really important so don't lose them. (Not that all the others aren't!) Then unbolt the for bolts that hold the lateral brace onto the underbody of the car. WARNING! Before this step is taken, you must have a transmission jack in place underneath the transmission! Failure to do sue will result in the transmission falling and causing injury and damage! |
 |
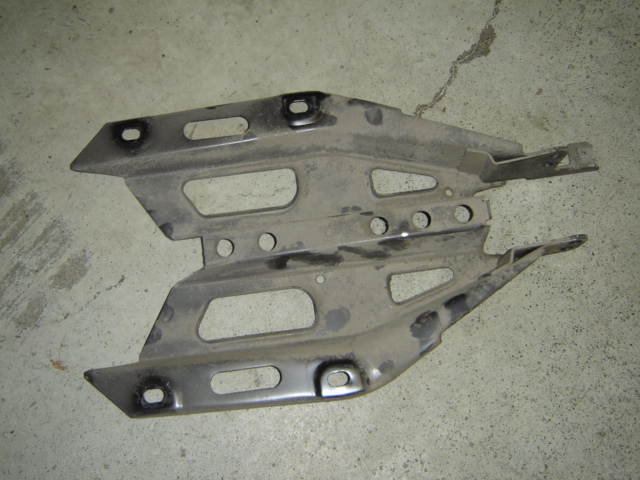 |
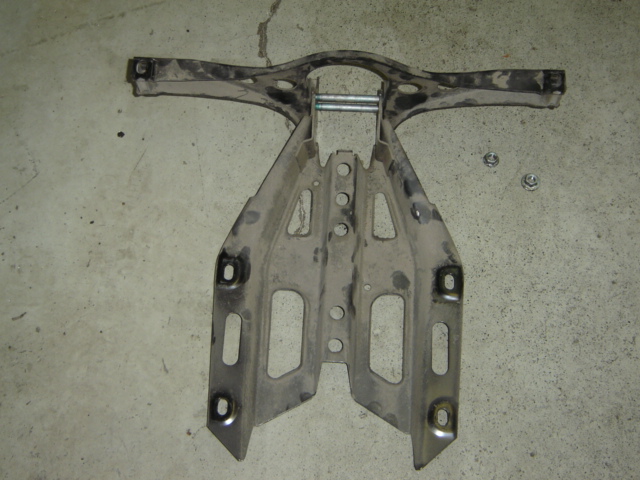
As you can see the first picture shows the horseshoe vertical brace that the end of the transmission hangs on. The next image shows the lateral underbody brace that it is attached to. |
 |
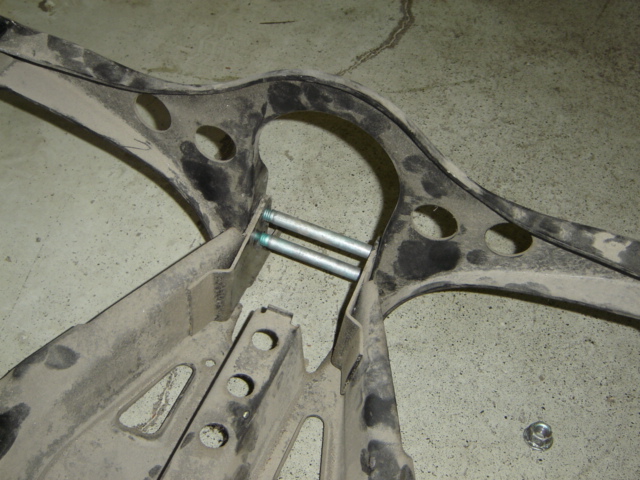 |
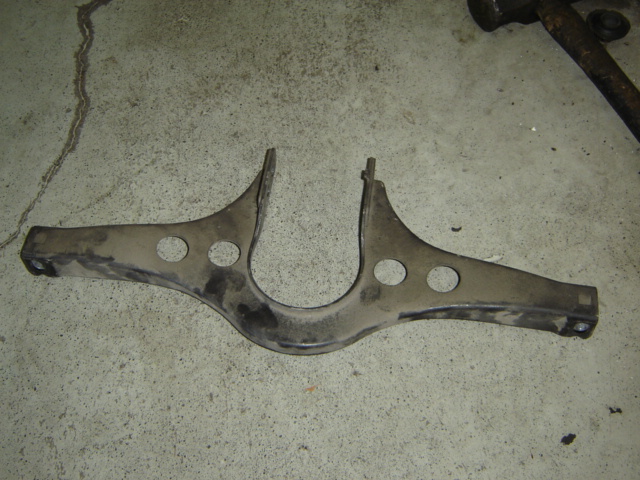
More images of the two braces off the car. I loosly bolted them together so you would have an idea of what they look like on the car. |