 |
 |
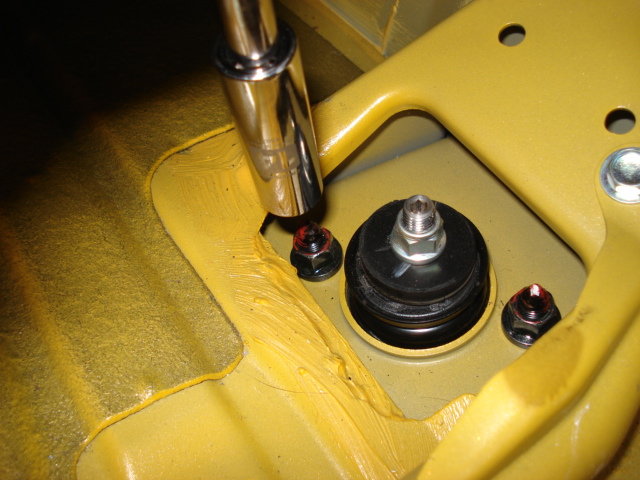
First thing to do is to raise the car and place it on jack stands. Under hood, remove the two 14mm upper shock bolts on the shock tower. Then remove the 12mm bolt holding the front brake line to the damper. |
 |
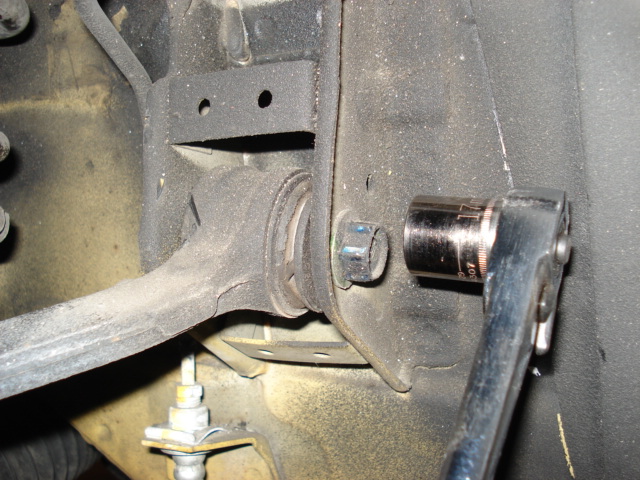 |
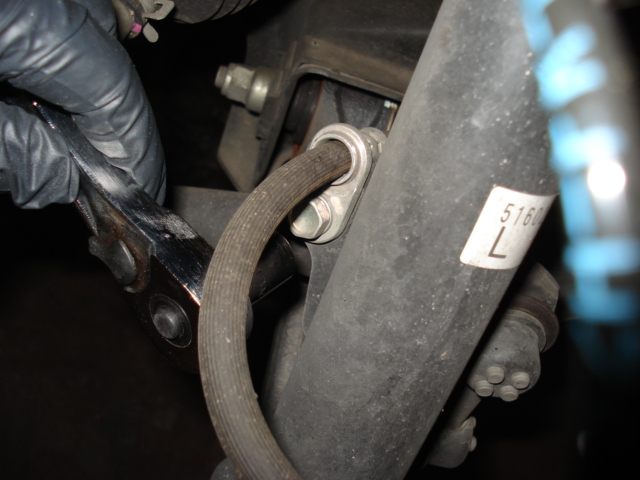
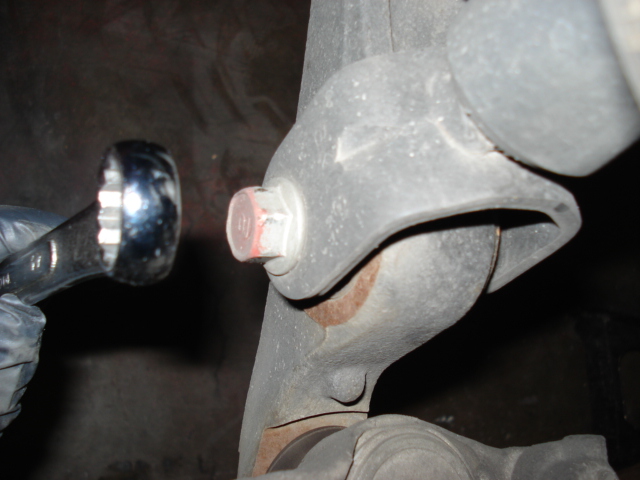
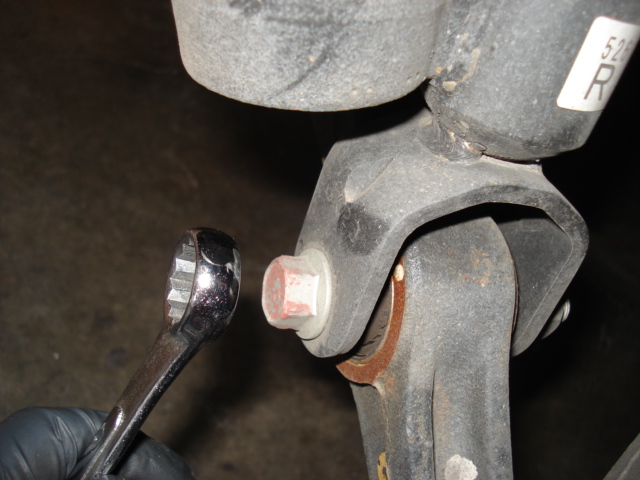
Remove the 17mm nut and bolt on lower damper connected to the lower control arm. Now remove the two 17mm bolts on the upper control arm. Once the upper control arm is free from the chassis, you can swing the entire hub/knuckly assembly out of the way and remove the damper. Replace the new coilover in the reverse process. |
 |
 |
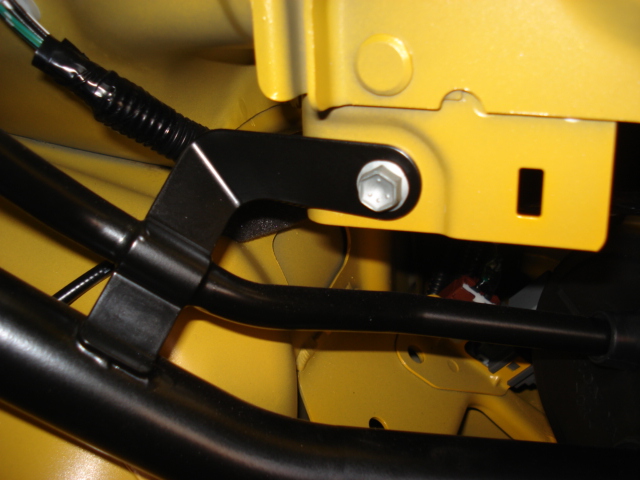
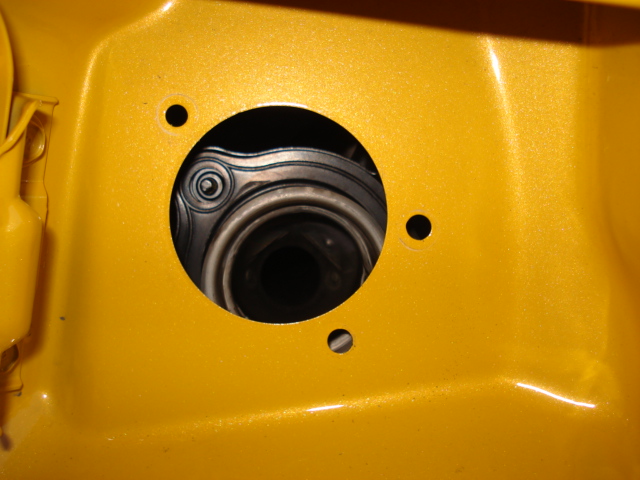
In the trunk, remove the forward carpeting to access the upper shock bolts. On the passenger side, remove the two 14mm bolts. Then remove the lower 17mm nut and bolt connecting the damper to the lower control arm. The damp can not be removed easily. Replace the new damper in the reverse process. |
 |
 |
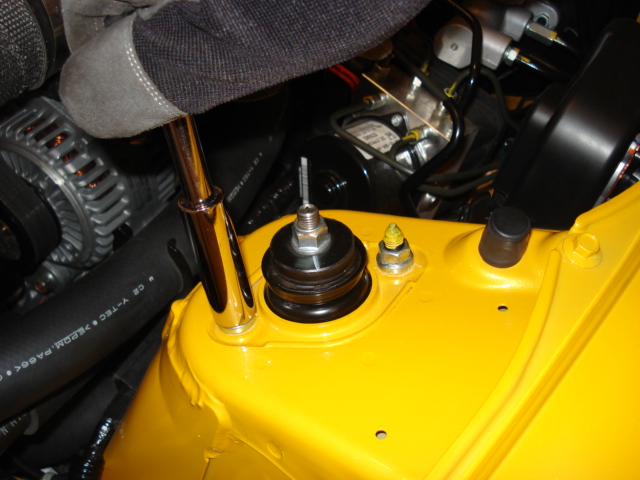
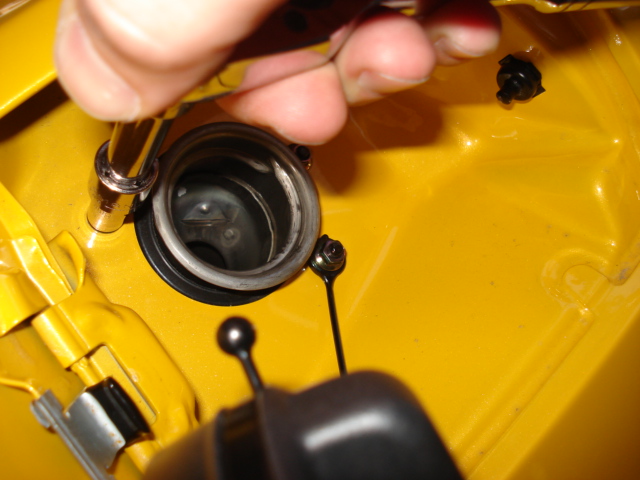
The driver side rear damper is a little harder. You'll have to unbolt the fuel filler neck to give you enough room to access the upper damper bolts in the trunk. Pop the gas door and remove the four 8mm nuts. Then in the trunk, remove the 10mm nut holding the fuel neck to the chassis. Now the fuel filler neck is loose. |
|
 |
Carefully wiggle the fuel neck away from the fuel filler access in the quarter panel and push it forward slightly. This should give you enough room to get to the two upper 14mm nuts on damper. Then remove the lower 17mm nut and bolt as you did on the passenger side. Reinstall the new damper in the reverse process. That's it! |

