EFI Systems Programmable Management System (PMS) Installation
www.efisystems.com
|
|
If you're trying to squeeze all those extra ponies out of your high output motor, a stand alone system is the only way to go. All those piggy back units are great to have, but having 5 units fighting over each other and still not having full control over spark and fuel, whats the point? The average cost of all those piggy back units added together ends up being the same as if not really close to the cost of getting yourself into a stand alone setup such as EFI Systems PMS unit (available for Honda, DSM, Ford, Mazda).
We at C-SPEED chose to go with the PMS system for its cost vs function and its simplicity of installation. Like most people the C-SPEED project Integra also had a vast array of piggy back units. If we didn't have to remove all those units, installation of the PMS would have taken a wopping 10mins.
The Interaq software that EFI offers is also a must have with the PMS system. It allows the tuner to datalog runs and play them back at his convenience. Tuning window is increased to every 250rpms where timing and fuel can be adjusted at Part throttle and WOT conditions. Seperate tables for NOS and BOOST are available with NOS and boost control! Also thrown in the mix is 2 auxilary outputs to trigger accessories at user defined RPM points.
This is our first write-up on the unit as we have just recently installed the unit so stay tuned as we continue to update the progress of our project car.
|
 |
 |
Step 1:
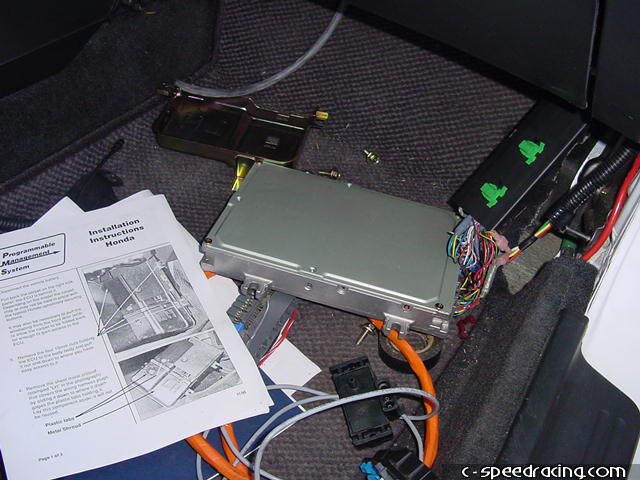
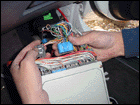
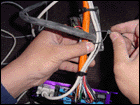
First thing to do is remove the passengerside kick panel and pull out the ECU by removing the 4 10mm bolts holding it down. The after pulling off the harness bracket (you will no longer need it) carefully disconnect the 3 connectors from the ECU. |
 |
 |
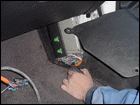
Step 2:
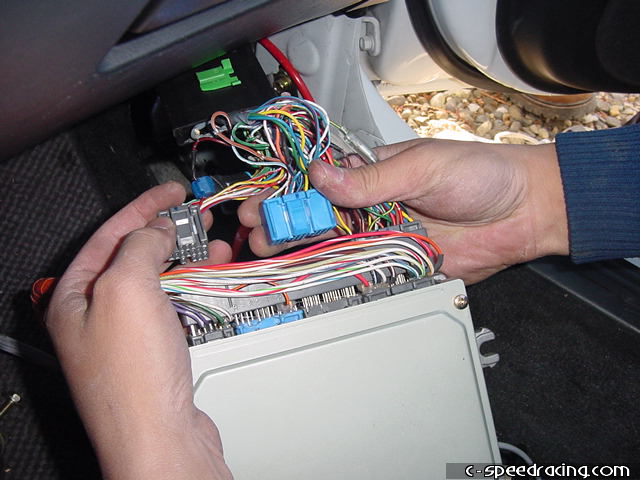
Firmly press the EFI PMS harness that directly fits onto the factory ECU location. Then reconnect the factory connectors on top the back of the EFI adapter. Thats all for the ECU install! Now WITHOUT the factory harness bracket that you took off, replace the ECU back in its factory location and bolt it back down with the 4 10mm bolts making sure not to pinch and of the wires on the two harness. |
 |
 |
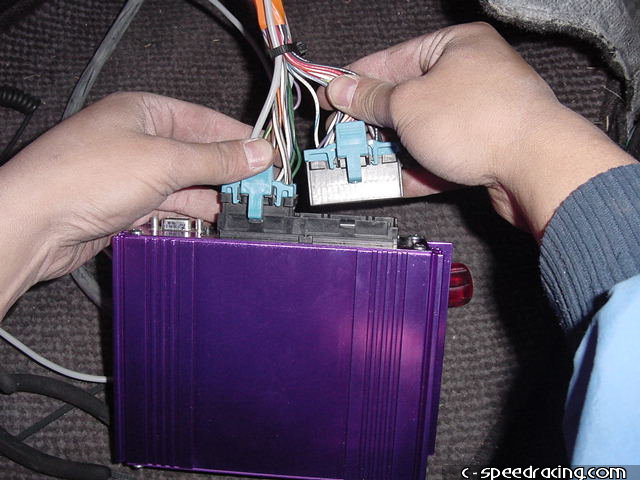
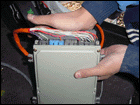
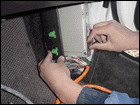
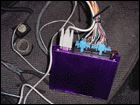
Step 3:
Now that you've finished with the ECU, run the EFI wire harness under the carpet to a conveniet location where you want to install the EFI brain. We decided to stuff the brain under the passenger side carpeting. But before you do so, make sure you connect to the harness up to the brain. Should be straight forward. |
 |
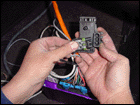 |
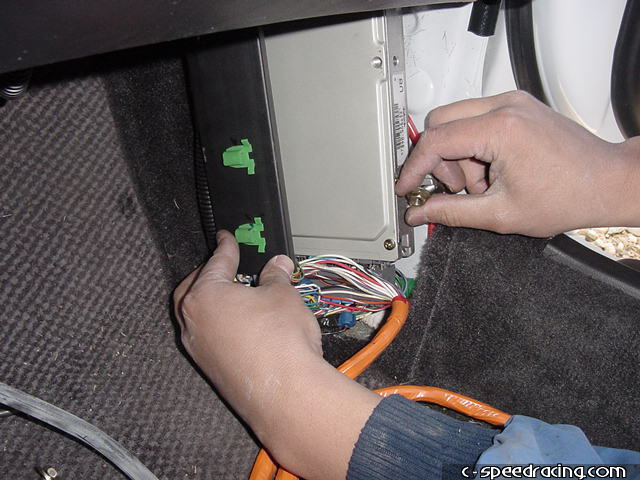
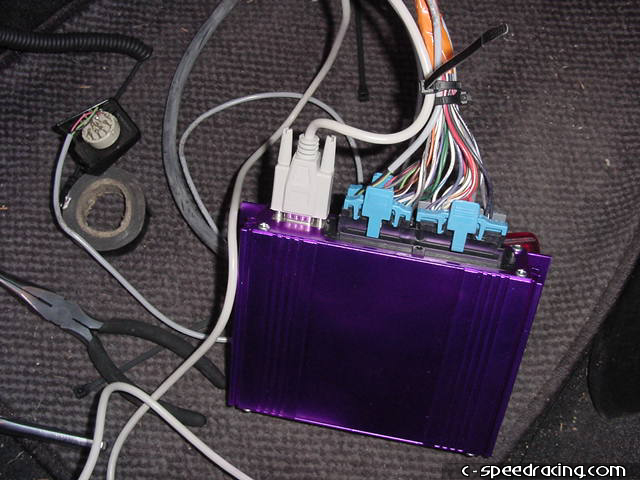
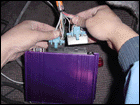
Step 4:
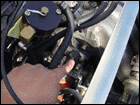
Now make sure you securely plug in the data cable, thats what runs to the handheld unit for you to make tuning adjustments. The extra 'plug' on the harness is for the optional 3bar GM MAP sensor (pictured). If your boosting and purchased one, connect it up at this time. |
 |
 |
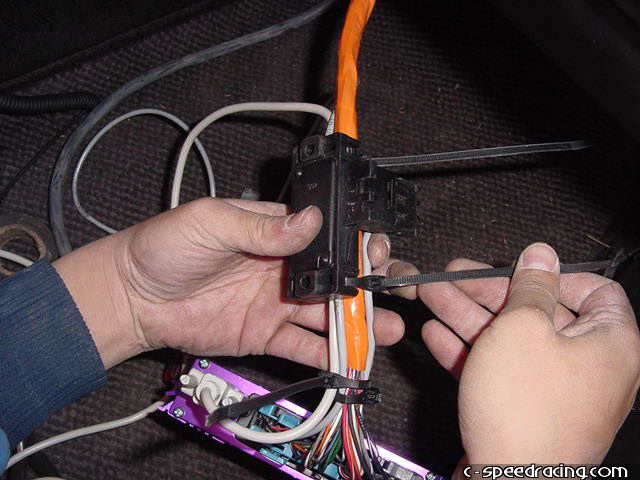
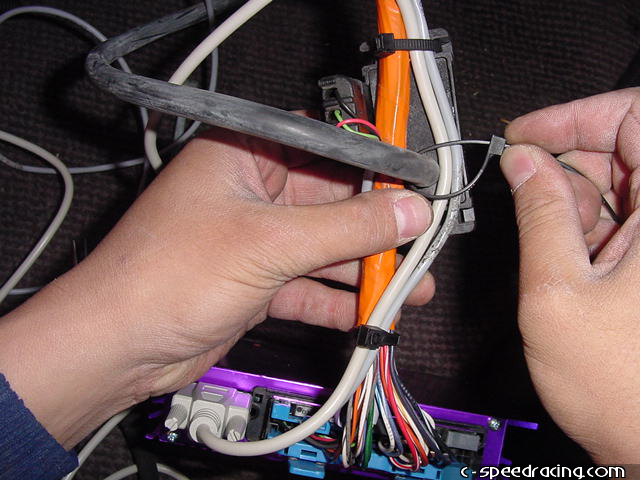
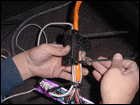
Step 5:
Since the harness for the GM MAP sensor is so short, we decided to zip tie it up to the EFI main harness. Make sure you don't cover up the nipple on the MAP sensor! You have to run a vacuum line to it. |
 |
 |
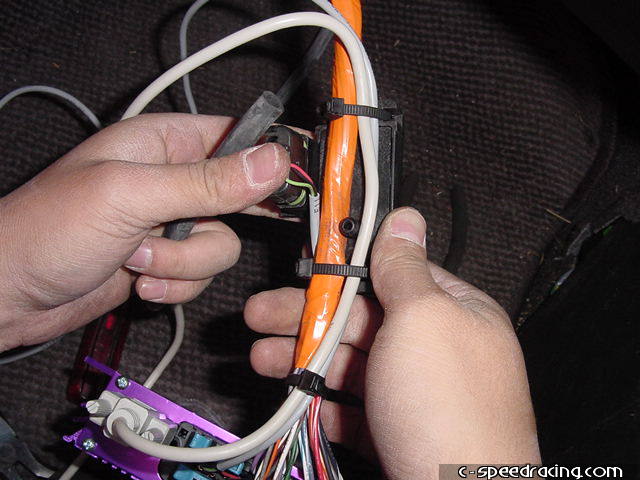
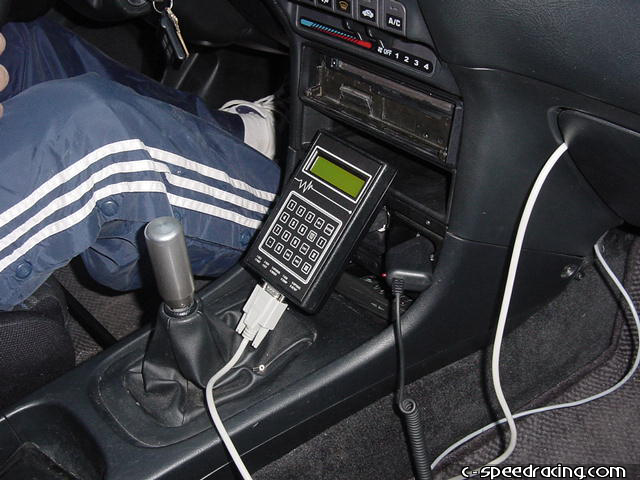
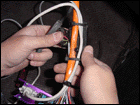
Step 6:
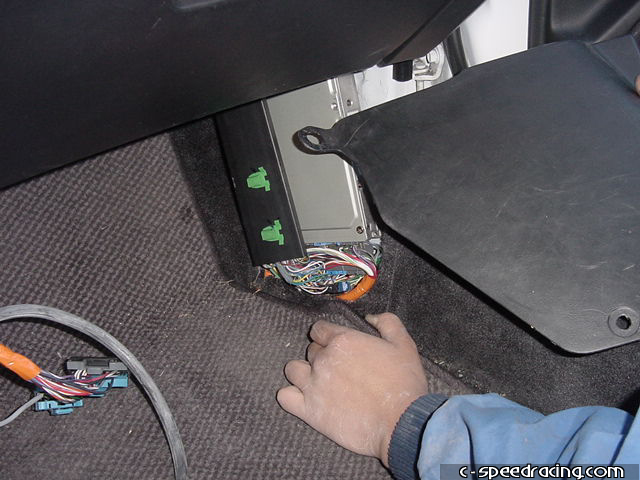
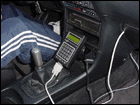
Using a VAC source off your manifold, run a vacuum line through the firewall to the MAP sensor. Make sure everything is secure and tuck it all away under the carpeting. Nice and clean and no one will no its there! Except us of course. Then run the data cable to a convenient location along with the 3 position switch that is included with the unit. Attach the handheld unit to the data cable and your ready to fire up the car. |
 |
 |
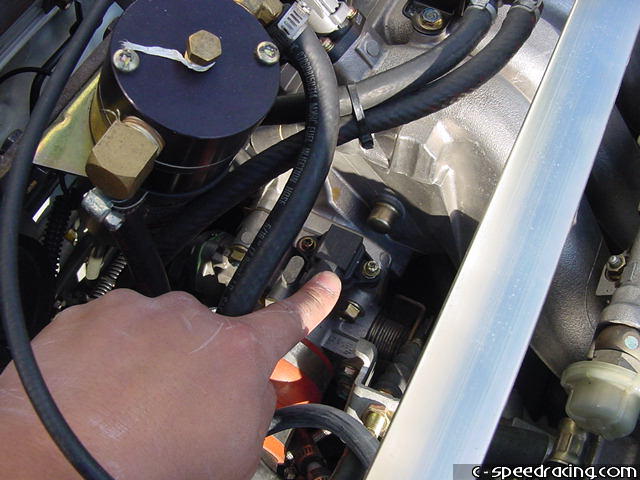
Step 7:
Pray that the car starts! In our case, it fired up right away, no hesitation at all. One thing to mention is that the manual that comes with the unit can be better used to make oragami. One main point I'd like to make at this time, is that if you are boosted and running the 3bar GM MAP sensor, you must keep your stock MAP sensor hooked up. You will also need to run a check valve. Happy tuning! |
|