 |
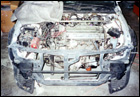 |
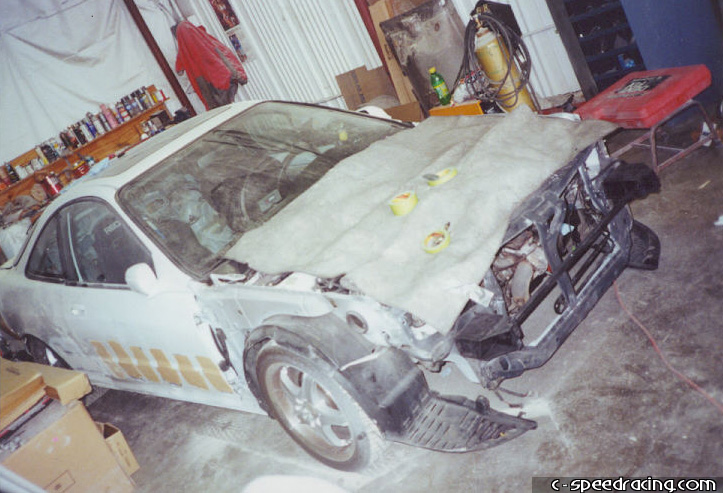
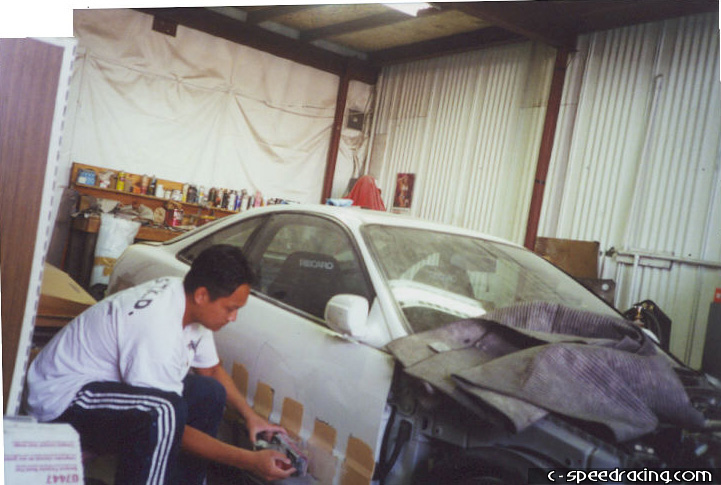
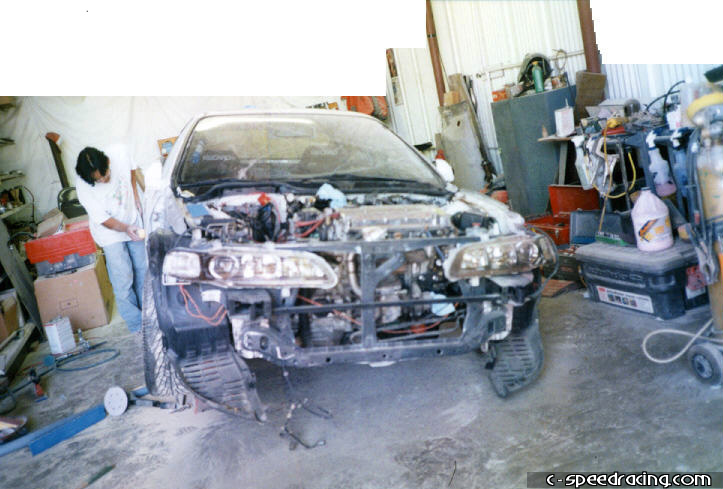
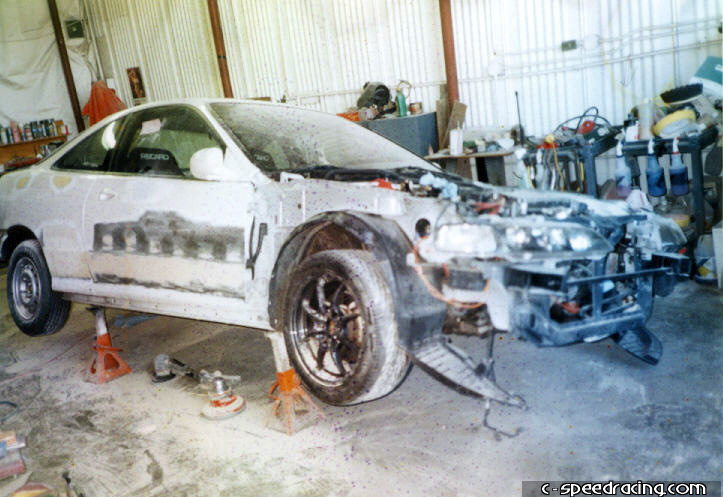
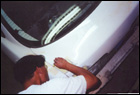
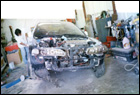
The only major modification you have to make when converting to JDM spec, is to remove the old USDM radiator support and have the JDM unit welded in its place. |
 |
 |
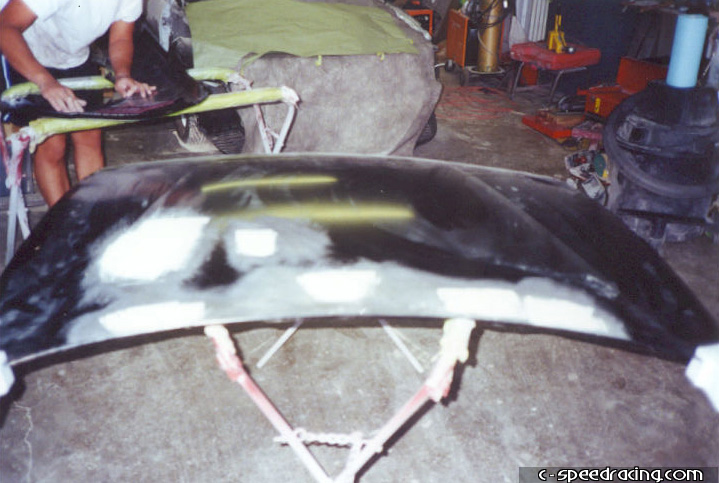
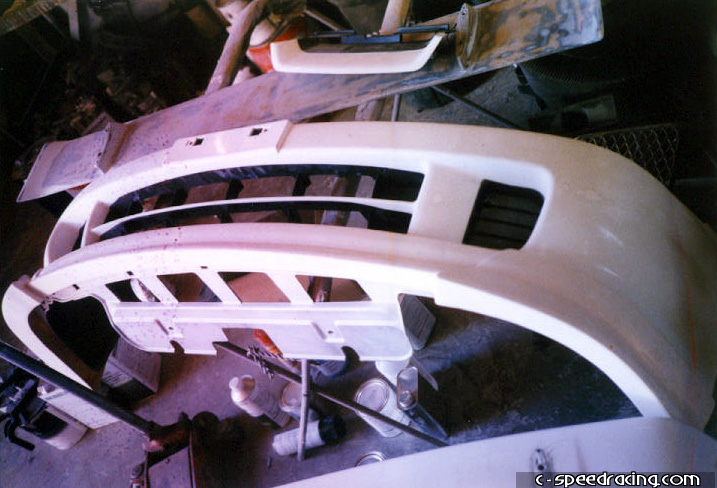
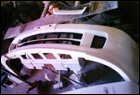
The JDM hood had minor damage from UPS when we received it. Make sure you inspect all the parts when you reveive your kit as UPS or any other shipping company should be liable for missing or damaged components. As you can see the JDM front bumper comes factory painted Championship white. |
 |
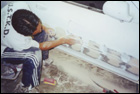 |
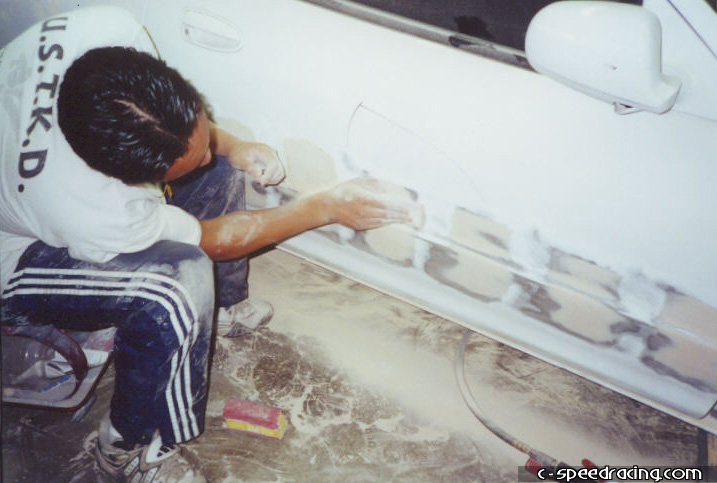
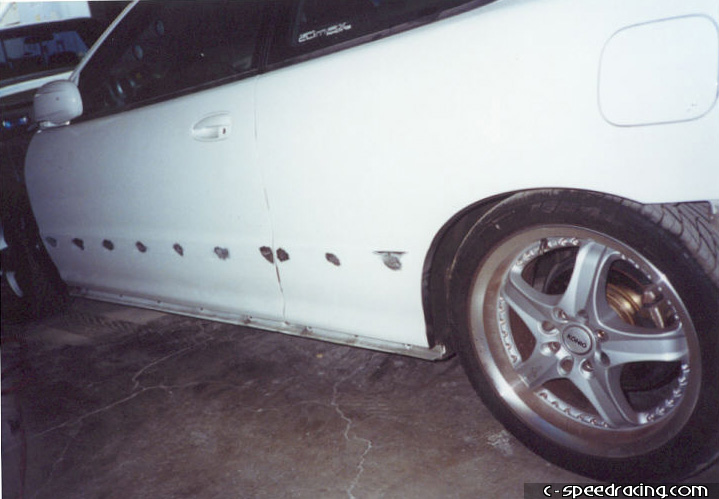
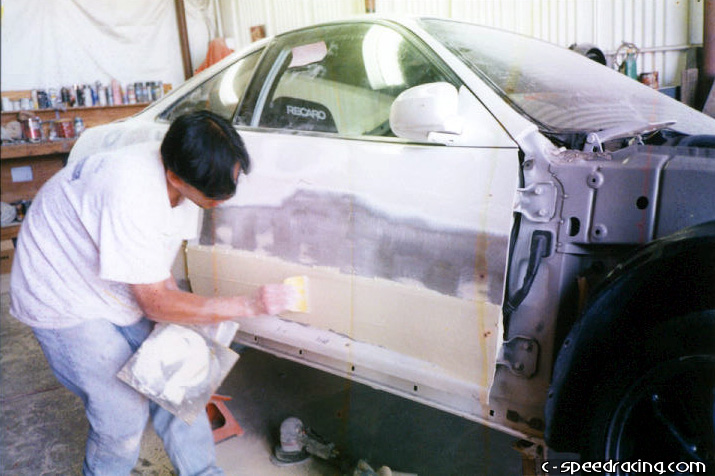
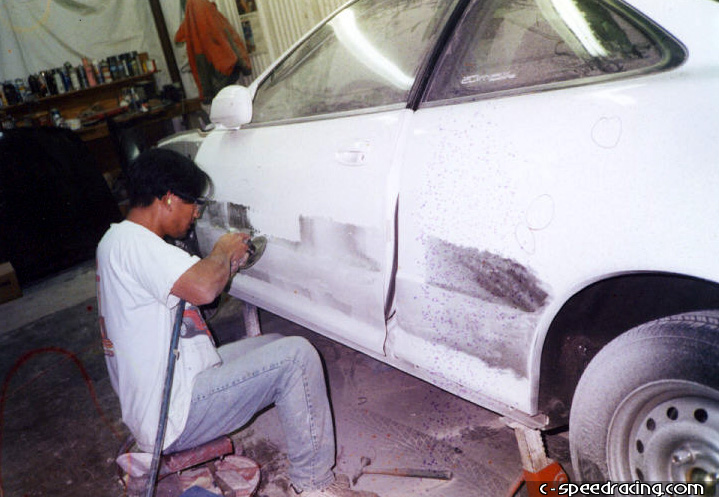
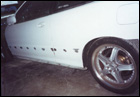
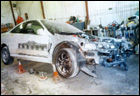
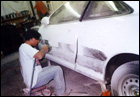
The side moldings for removed and the holes that held the clips were welded and the entire side refinished. |
 |
 |
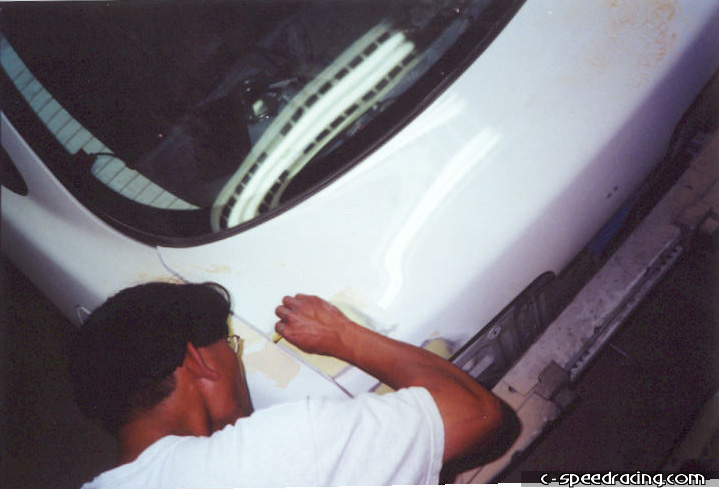
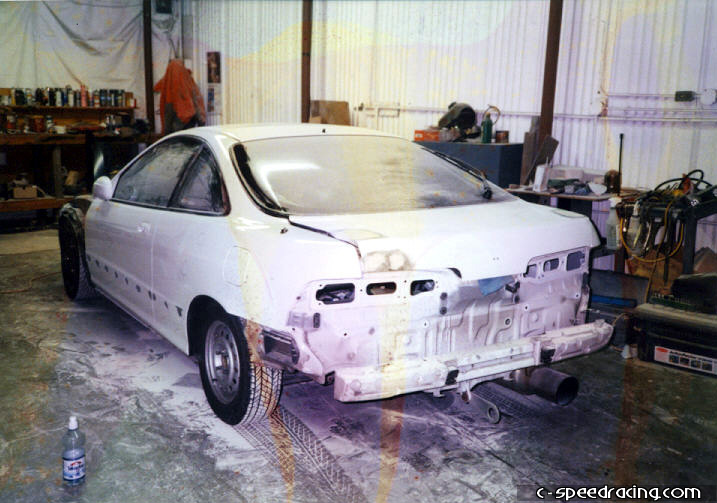
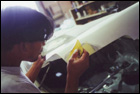
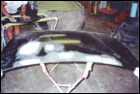
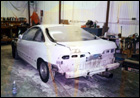
At the same time, the rear hatch had holes that held the Acura badges. Those were promptly removed as well. So were the alignment holes for the factory GSR wing as the ITR wing doesn't cover or use the same holes. |
 |
 |
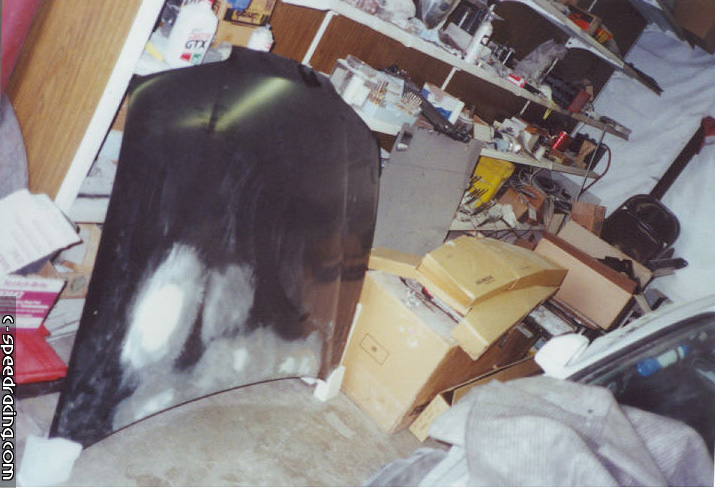
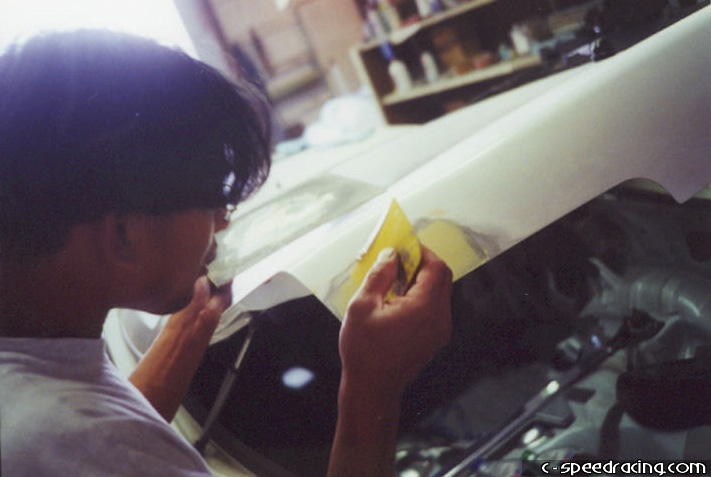
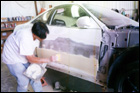
The minor dent in the hood was repaired. Time for the other side. |
 |
 |
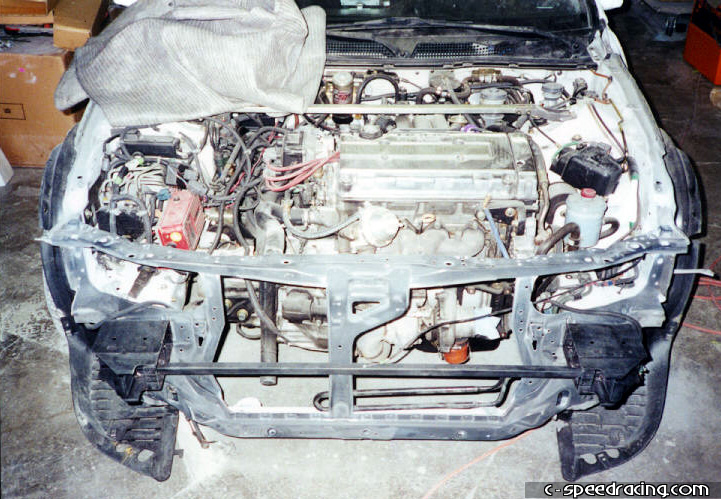
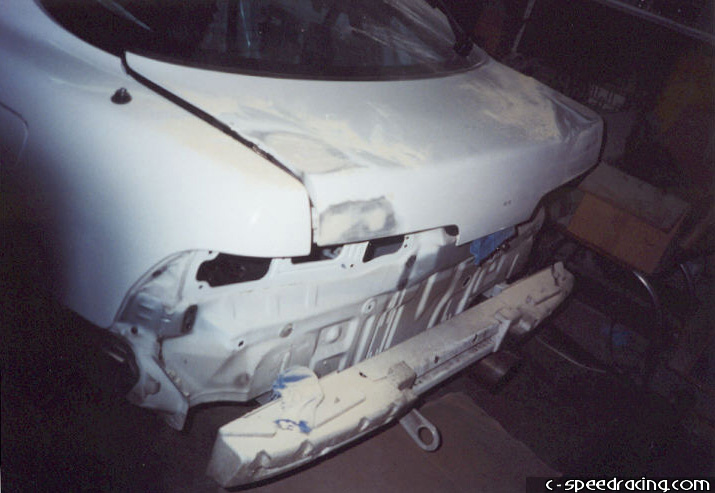
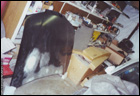
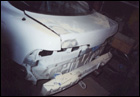
Notice the size of the JDM rebar. No wonder it doesn't pass US safety standards. It was of no concern to us though, as the JDM unit saved a good 30-40lbs in weight compared to the USDM counterpart. |
 |
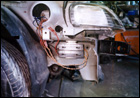 |
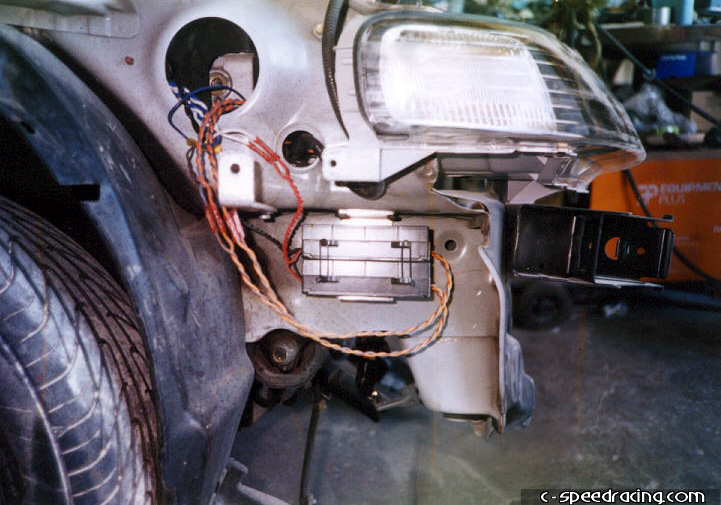
Taking advantage of the fact that the car is in peices, the Xenon HID ballasts were neatly tucked away in the fender. |
 |
 |
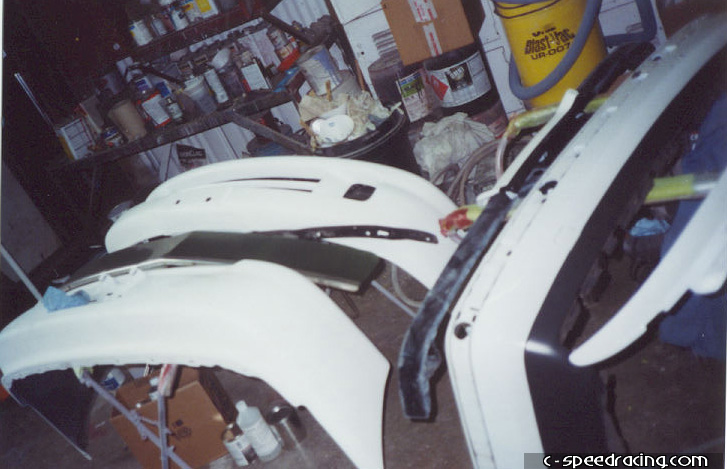
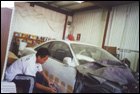
Not much prep work was required for the front bumper, just a minor scuff job with some Scotchbrite and it is ready for paint. |
 |
 |
Witht he body work pretty much complete, its now ready for a new coat of paint. |