 |
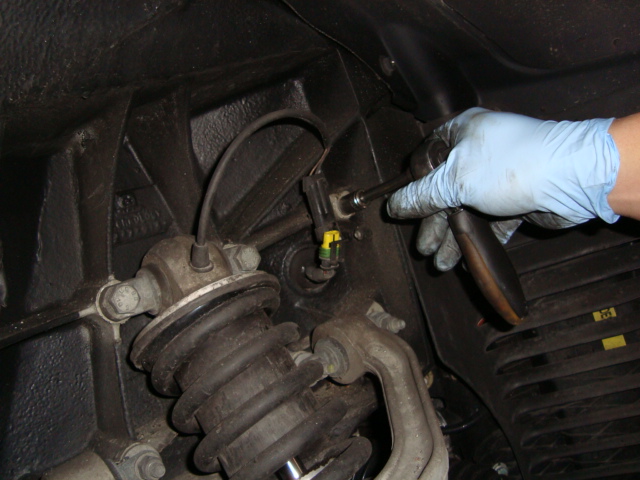 |
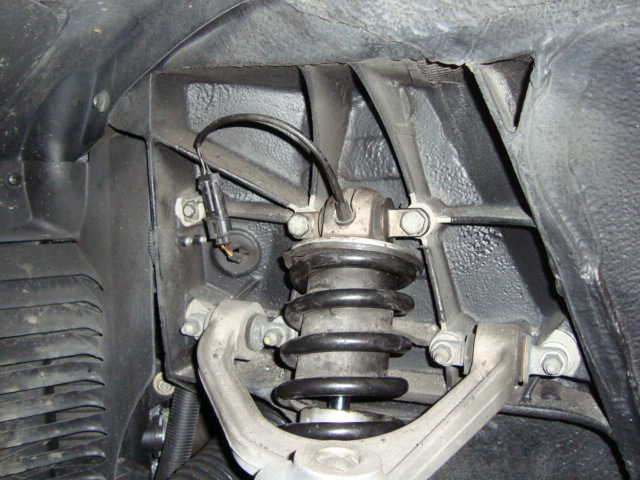
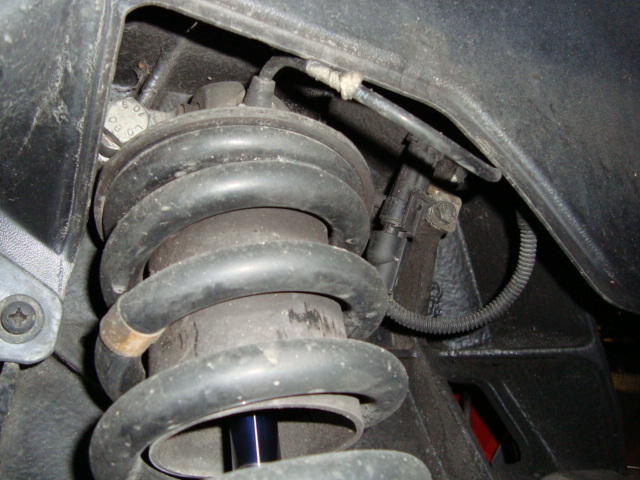
I am sure all of you know how to take off the front wheel so I am leaving that out if this. If you don't stop here and go to the dealership! For those of you who do, unclip the sensor wire going from the front strut to the connection on the chassis. The connection is grounded to the chassis so you will need to use a 10mm socket to remove it. |
 |
 |
Your next step is to remove the two 17mm bolts holding the top of the coil-over strut in place. If you are using hand tools take care not to strip to heads. This goes double for those of you with air tools. Then move to the bottom of the strut where you will find a solitary 18mm nut in the front (19mm in the rear). |
 |
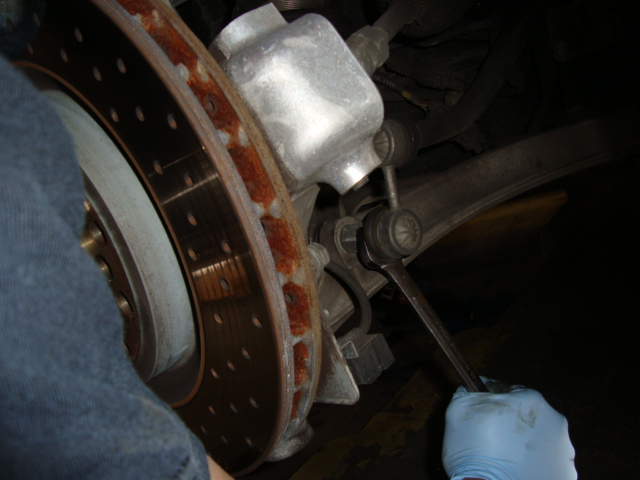 |
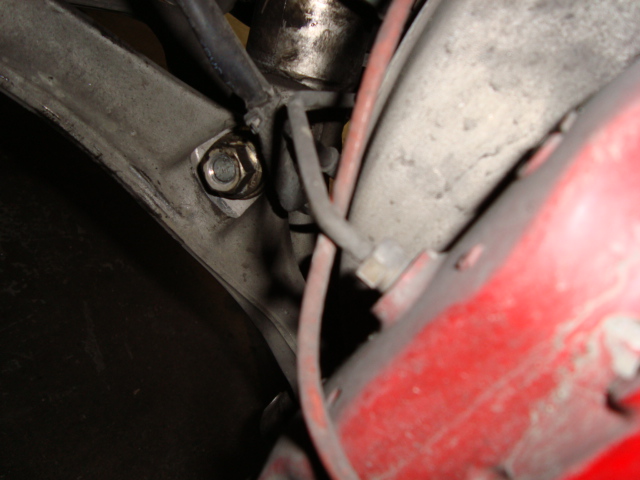
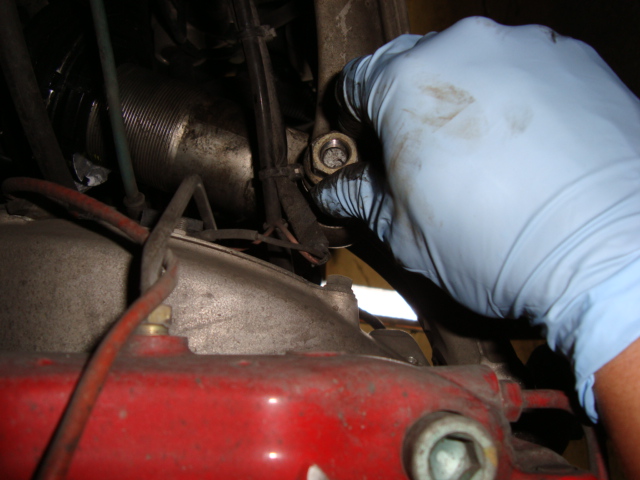
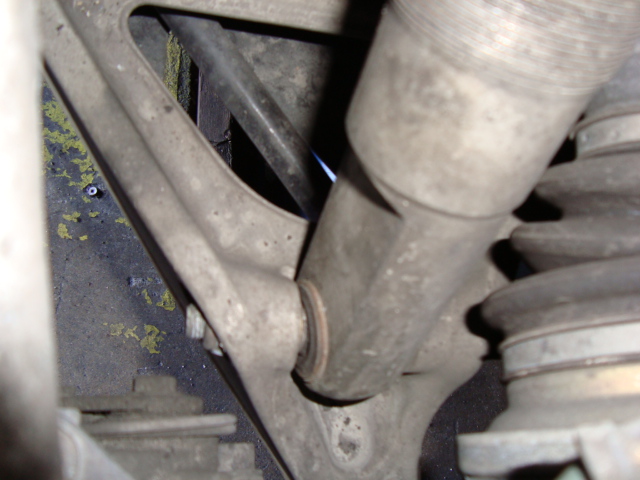
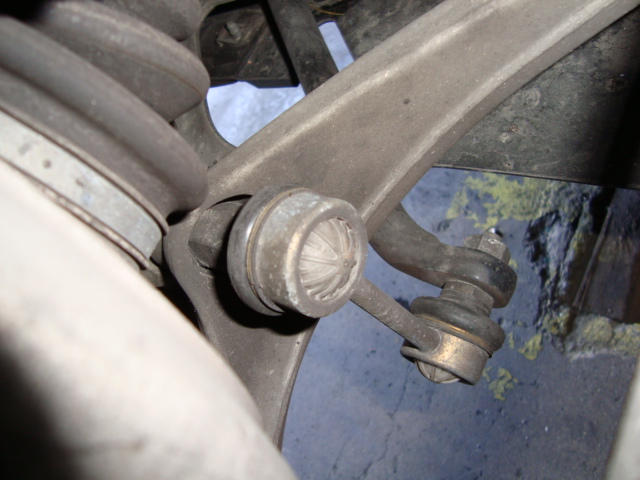
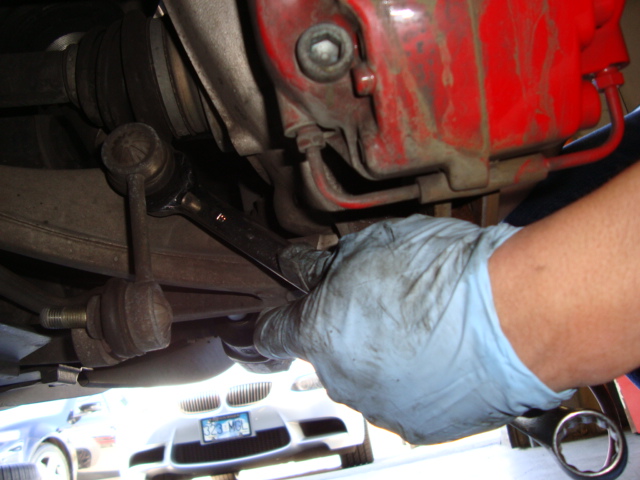
Use whatever tool you find most comfortable at the bottom of the strut. I used a air tool for the nut and a wrench to take out the sway bar end link on the other side of the control arm. Use caution when dealing with the end link, you do not want to tear the rubber joint. The end link is attacked to the solitary nut/bolt holding the coil-over in place. |
 |
 |
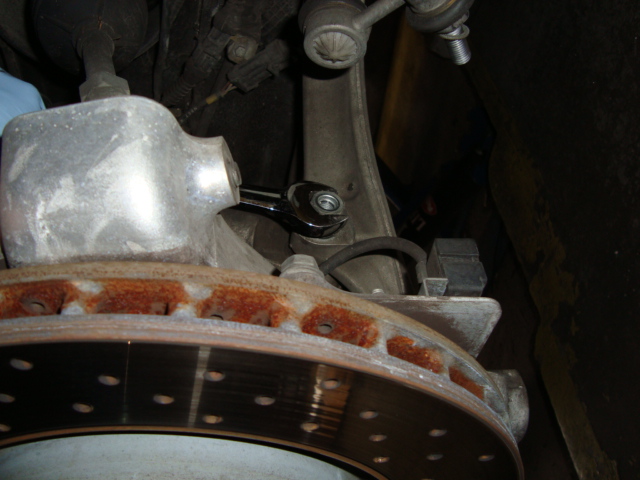
Once you have the end link off, unbolt the bolt holding the coil-over in place and remove it from the control arm. You coil-over should now be free to remove. Remove it by slowly pulling it up and out of the wheel well. Once it is out, the wheel well should look like the second picture. |
 |
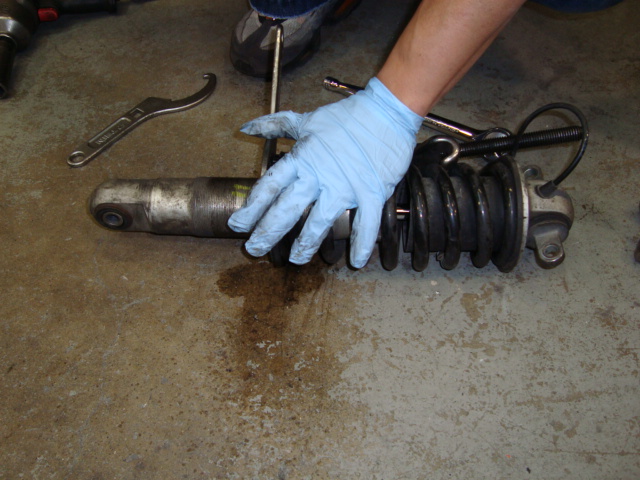 |
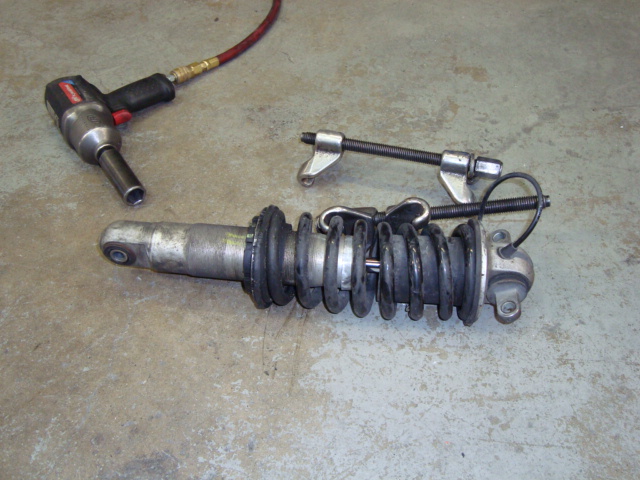
Your coil-over should now be on the ground facing you. Install your spring compressor around the spring and compress it just enough to allow the bottom adjustment rings to loosen up. Use some sort of penetrating fluid to help loosen the ring as well. Using your coil-over adjustment tool, break loose the bottom adjustment ring. (By "break" I mean loosen in a spinning motion!) |
 |
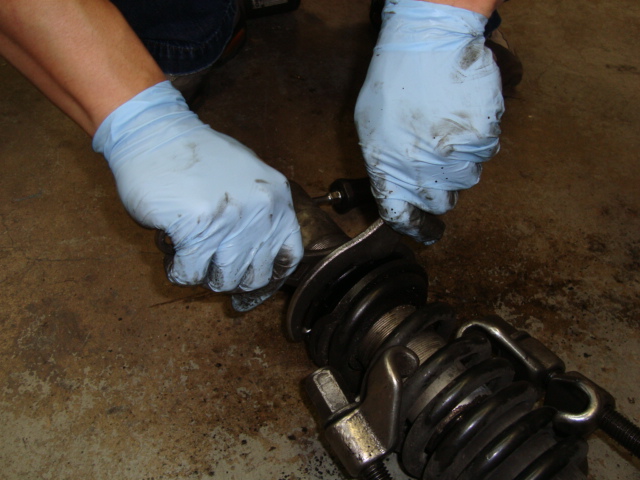 |
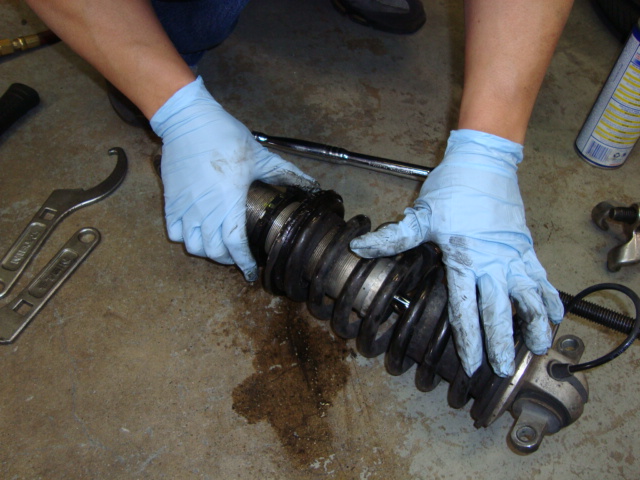
Once the bottom ring is loose, spin it down to the desired lowering position. I found that going down approx. 1 inch in coil-over body height lowers the car 1.25inches. As you will see at the end of this article, it is a perfect height. Then using both coil-over adjustment tools, tighten the rings toward each other for a tight fit. You can now easily release the spring compressor and your coil-over will be ready to re-install. |
 |
 |
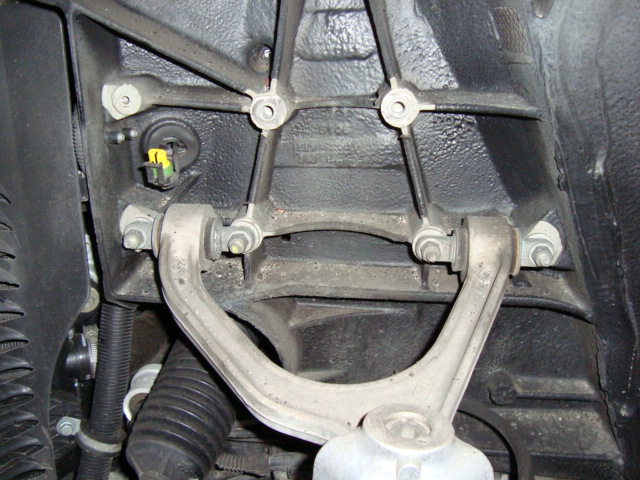
Now we are ready to move to the rear suspension. As you can see from the pictures, the rear suspension is almost an identical setup. The coil-over sits in the same type of position and is held by the same type of bolts. The only change you can visibly see is the fact that the coil-over is a bit more tucked under the chassis. |
 |
 |
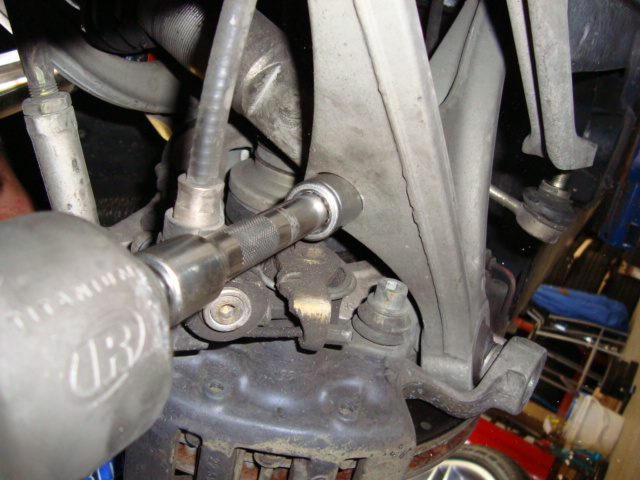
The pictures on the left show the rear lower bolt holding the coil-over in place to the lower control arm. It is the same as the front except it uses a 19mm nut instead of an 18mm. The end link is still connected to the coil-over bolt but in this case I opted to take out the complete end link by removing it from the sway bar and the control arm/coil-over. There is no real reason for this except to make life easier. |
 |
 |
Just like the front of the vehicle, the sway bar link gets removed and the bolt gets pulled out of the control arm holding the coil-over. At this point the coil-over is free to remove and to adjust as per the instructions for the front units. Keep in mind, the rule still applies. Apporx. 1 inch down on the coil-over body means 1.25inches in overall height. |
 |
 |
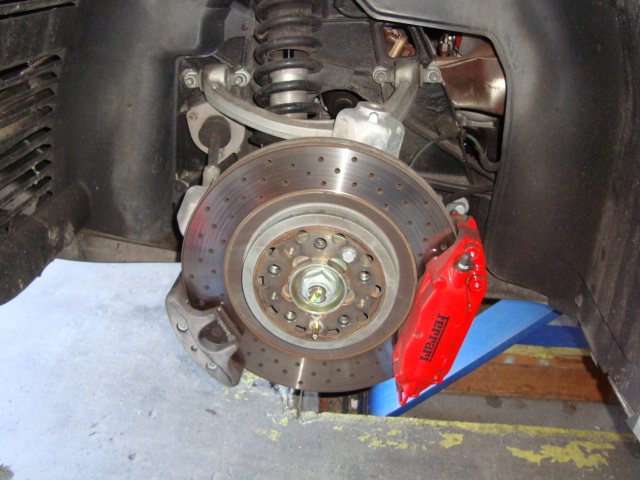
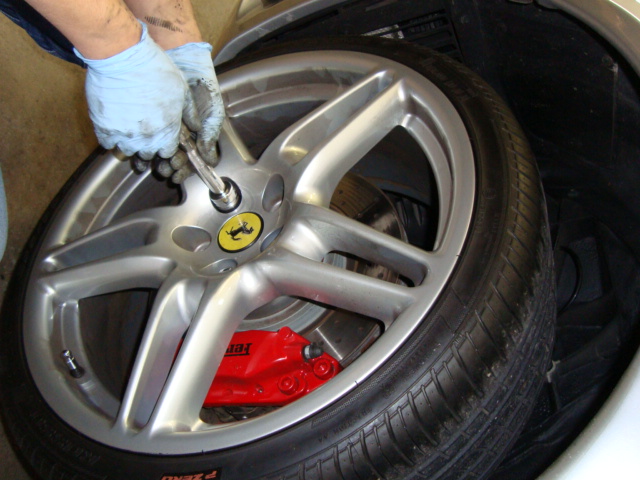
Once the coil-over is replaced in the rear as per the instructions for the front, replace the wheels back on the car. In this case we opted for a set of Novitec Rosso NF2 wheels with Pirelli Tires. 19" in the front and 20" in the rear. The following pictures are of the car after it has been lowered and test driven to settle the cars suspension. I may be making this a little easier than it seems for the ease of reading but it is not rocket science! Get out there and lower your car! Good Luck! |