 |
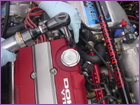 |
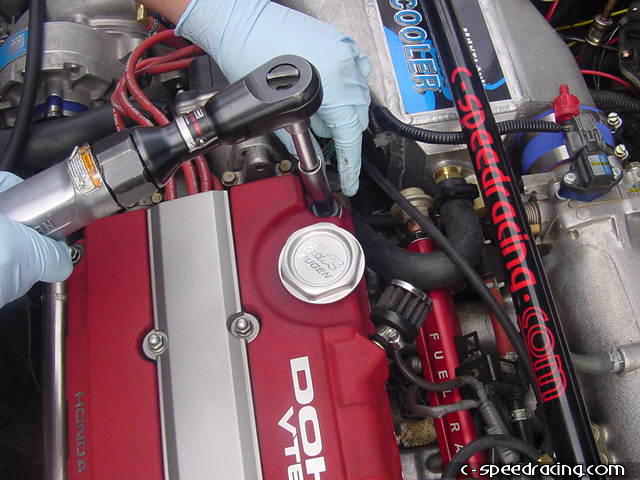
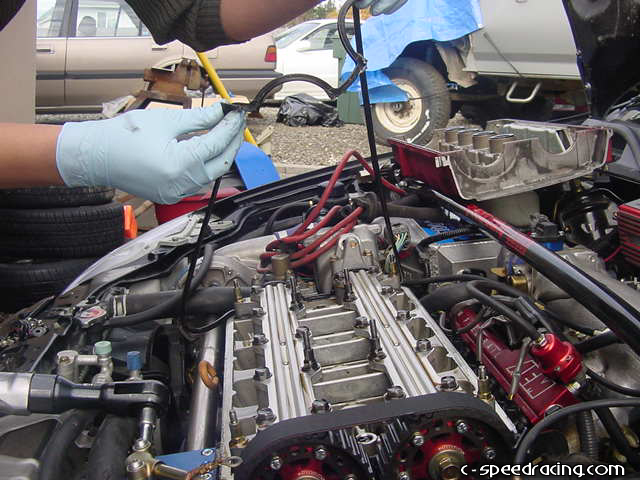
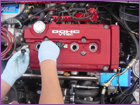
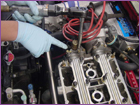
The first step in upgrading your cams is to remove the valve cover. There are 8 x 10mm bolts that need to be removed from the cover and spark plug wire cover. |
 |
 |
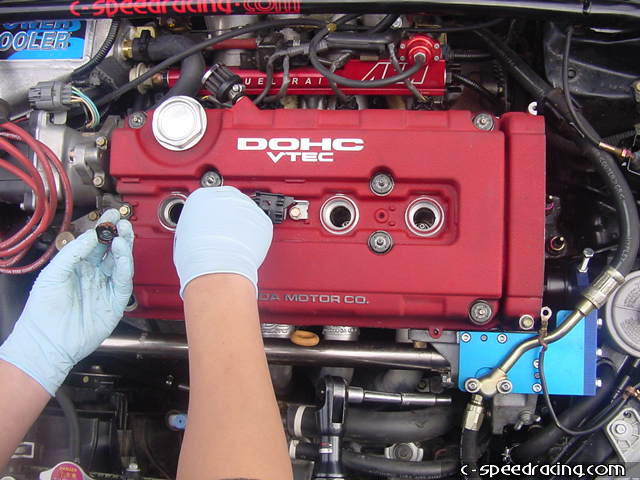
Once the spark plug cover is removed, carefully unplug the plug wires. |
 |
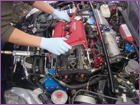 |
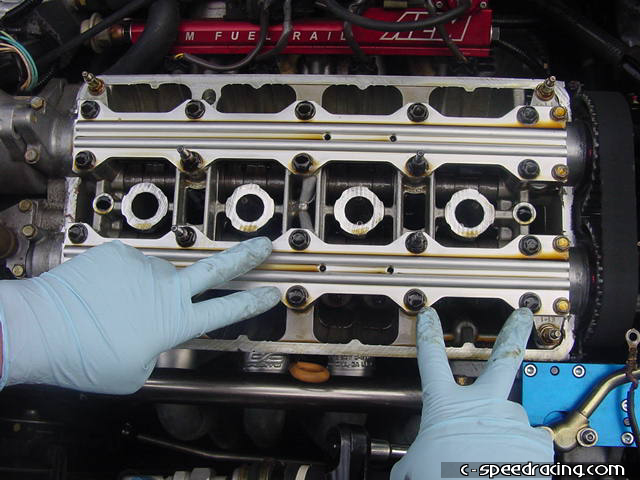
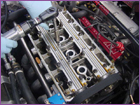
Now remove the circular metal washers from the valve cover studs and set them aside. Now you can lift off the valve cover. |
 |
 |
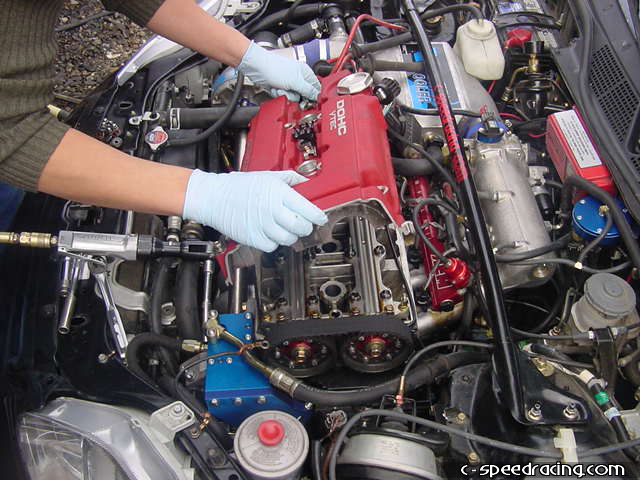
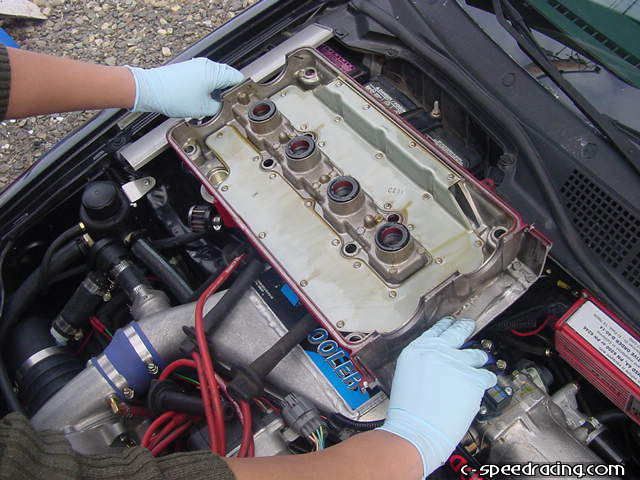
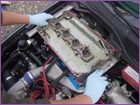
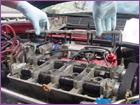
Once the cover is off the head, place is aside and remove the valve cover gasket. Inspect if for damage and if so, replace it. Otherwise it can be reused. Before continuing, now is also a good time to set the motor at TDC by rotating the crank pulley. |
 |
 |
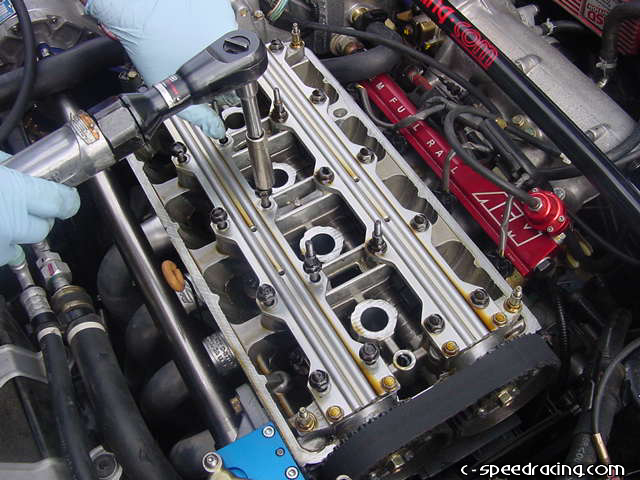
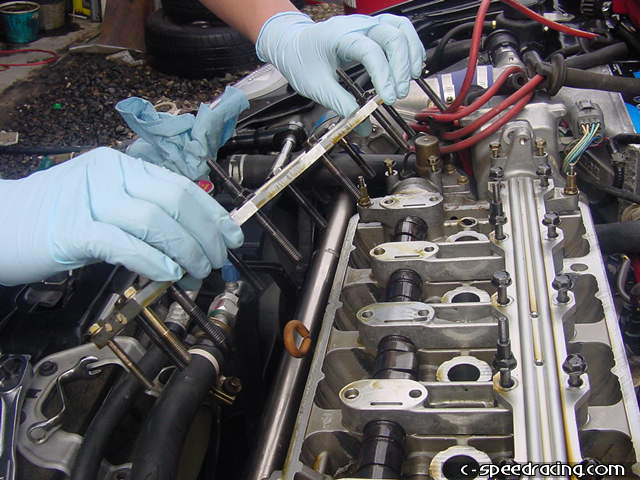
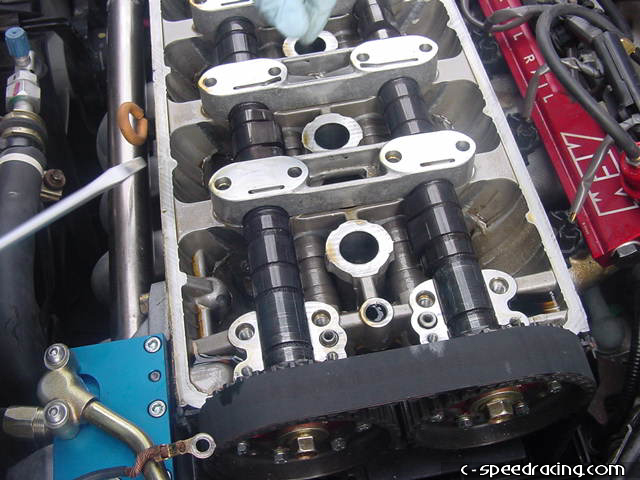
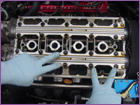
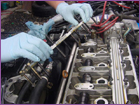
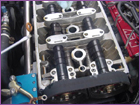
Now you will see the bolts that hold down the cam caps and plates. You will need to remove them all. Be sure to remove them in sequence starting from the center and working you way out to the sides so you don't warp the plates. |
 |
 |
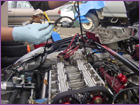
You will also need to remove the bolts holding the end caps near the distributor that aren't covered by the plates. |
 |
 |
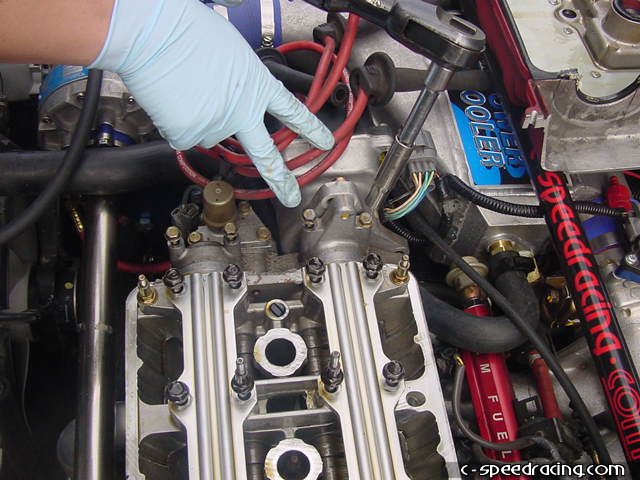
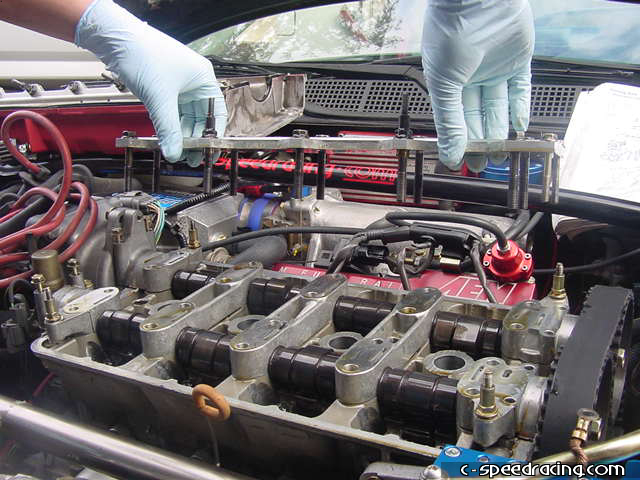
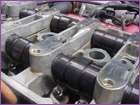
Once all the bolts are loosened, carefully take off the cam plates one at a time and set aside. |
 |
 |
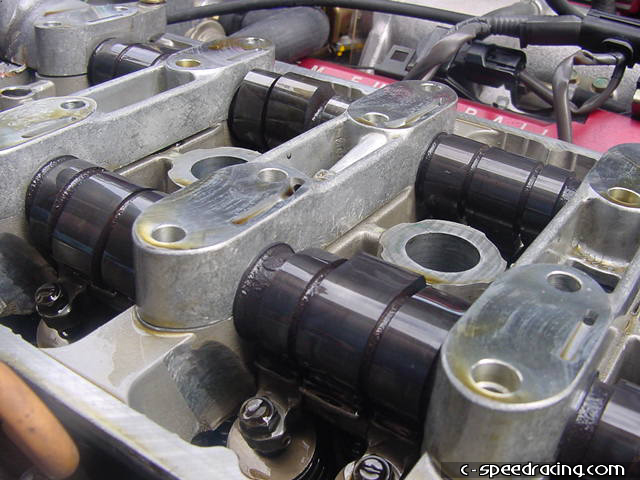
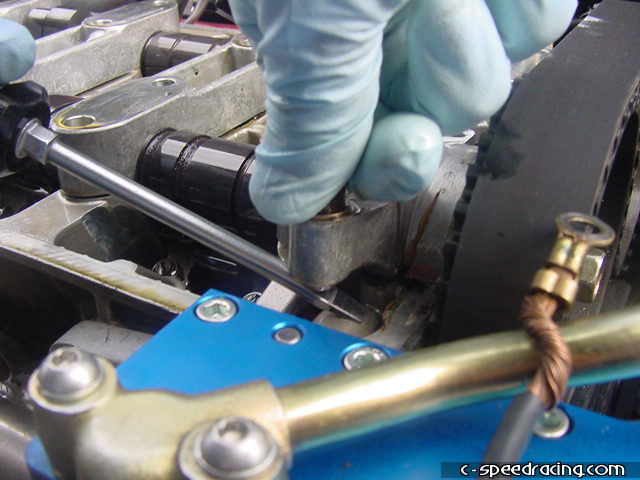
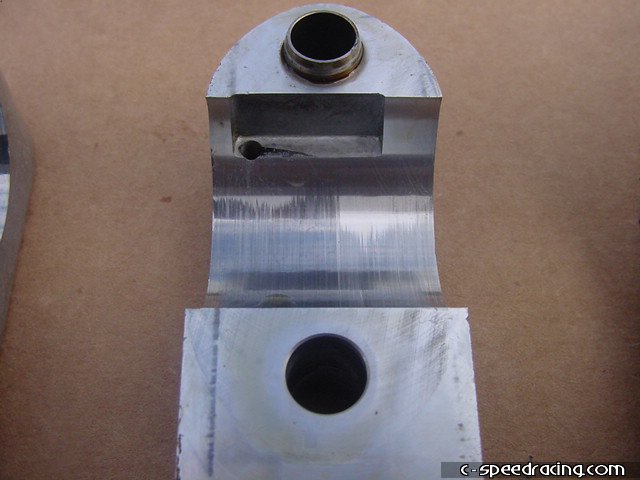
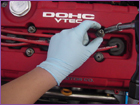
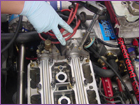
Now you can remove the cam caps. You may need to carefully pry them up with a screwdriver. Be sure not to damage the cap or head when doing so. |
 |
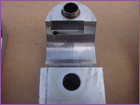 |
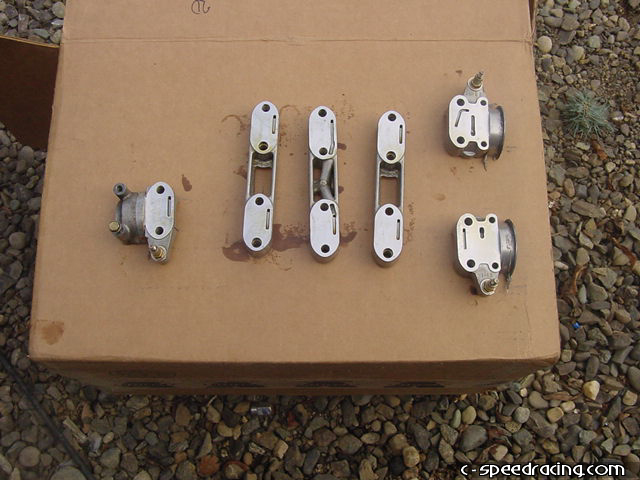
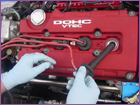
Remove the caps one at a time and keep them in order. Inspect them for wear or damage. |
 |
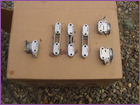 |
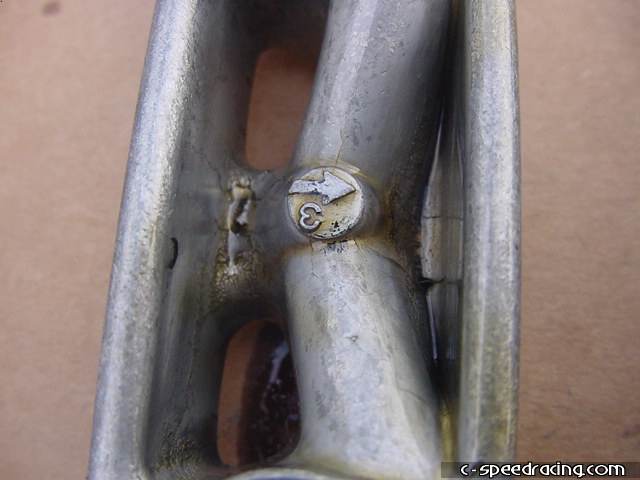
You will notice that each cam cap is labeled with a number and an arrow. Each number corresponds to which cylinder the cap is for. The arrow points to the front of the motor (driver side). Do not mix them up. |