 |
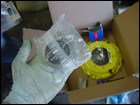 |
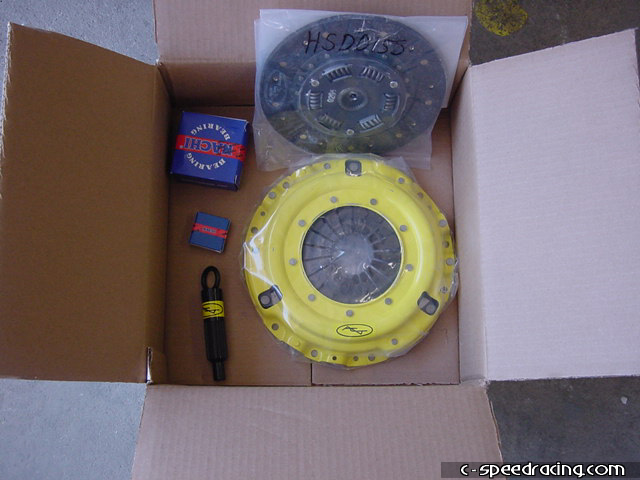
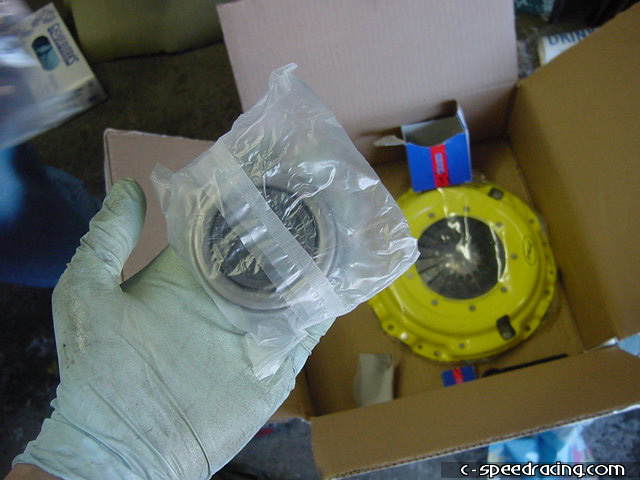
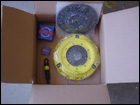
For this installation, we've decided to go ahead with an ACT Xtreme clutch with an organic full face disc. The kit is 100% complete and comes with a new throw out bearing and thrust bearing. It also comes with a clutch alignment tool making installation a breeze. |
 |
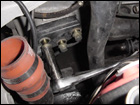 |
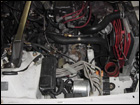
The first step is to disconnect all the wiring from the tranny. This includes ground straps on the transmission and starter as well as the VSS. To ease the process, removing the radiator and fan clear up some room for you to work. Make sure to drain the radiator first. A few preliminary steps have been skipped such as removing the axles and draining the transimission as well. You can also remove the front engine mount at this time. |
 |
 |
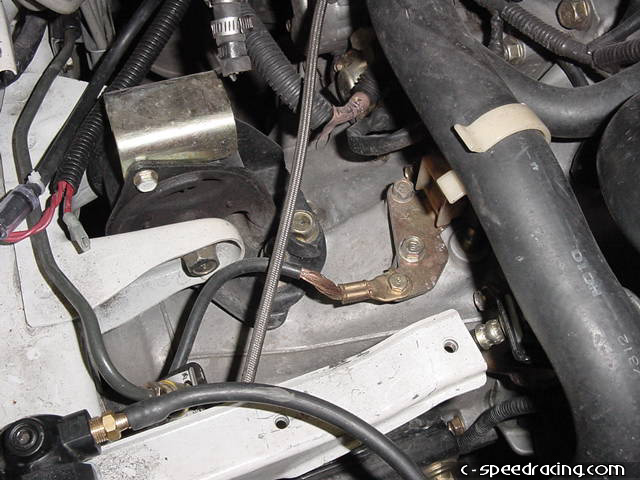
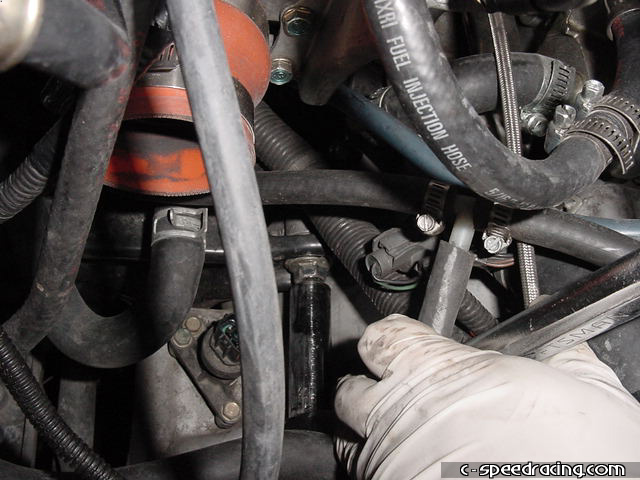
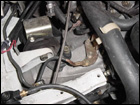
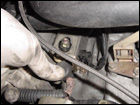
You can see the ground strap on the transmission and starter here. |
 |
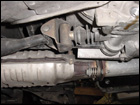 |
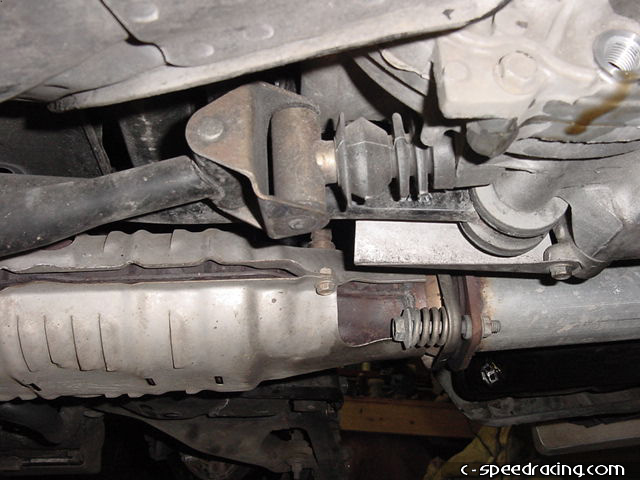
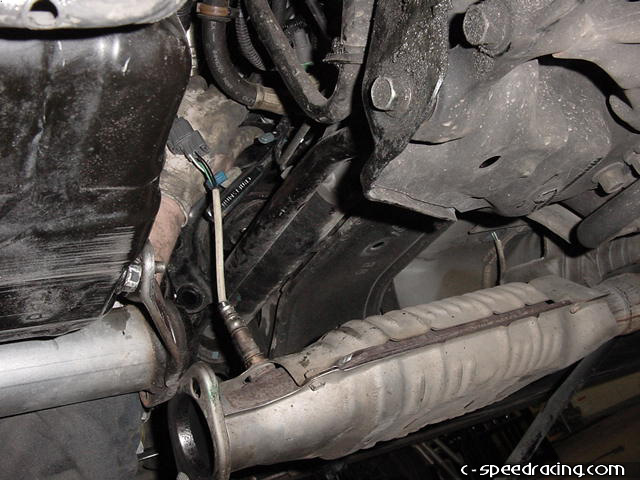
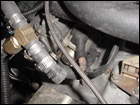
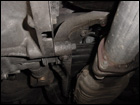
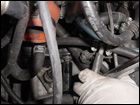
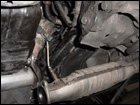
Under the car, you will need to disconnect the cat from the header as well as disconnect the shiftlinkage. You can see the how to do that here. |
 |
 |
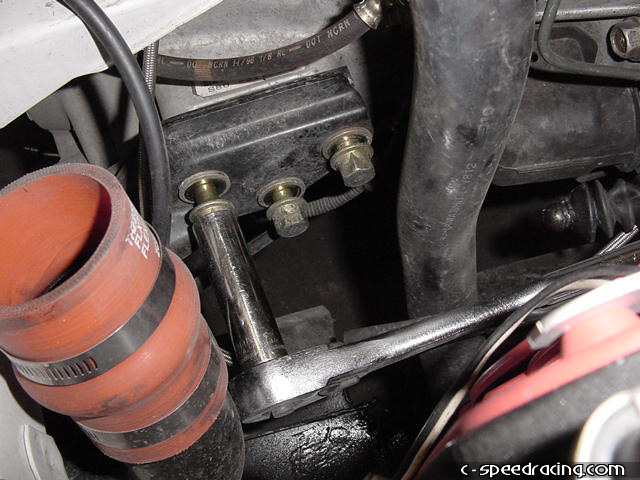
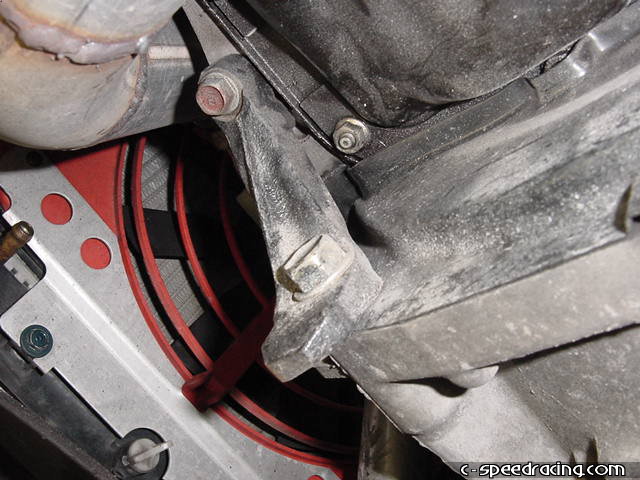
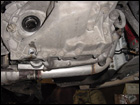
While under the car, take this time to remove the transmission bracket on the front and rear of the tranny. |
 |
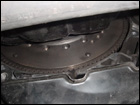 |
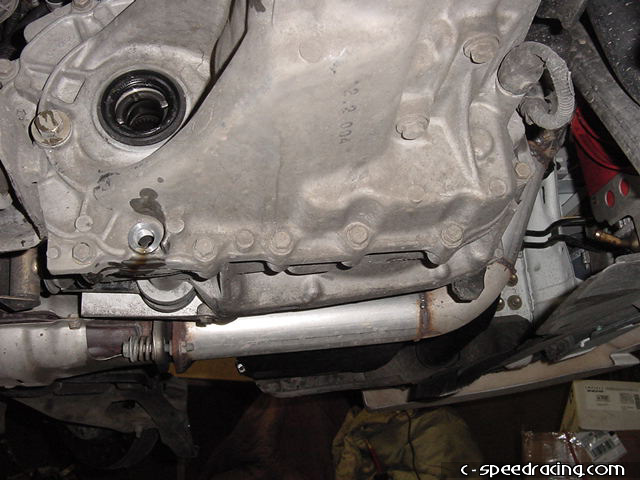
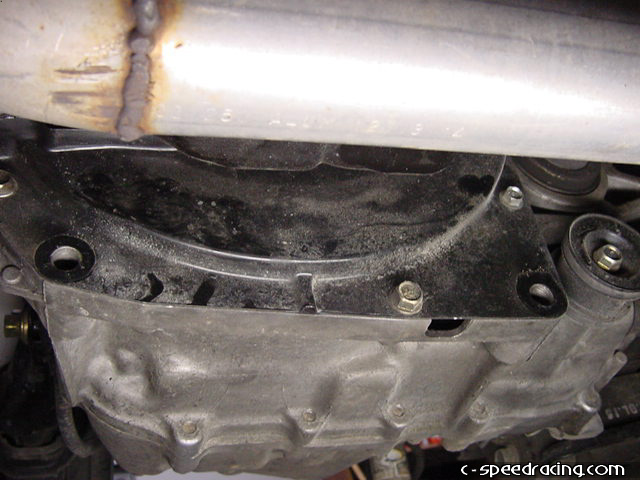
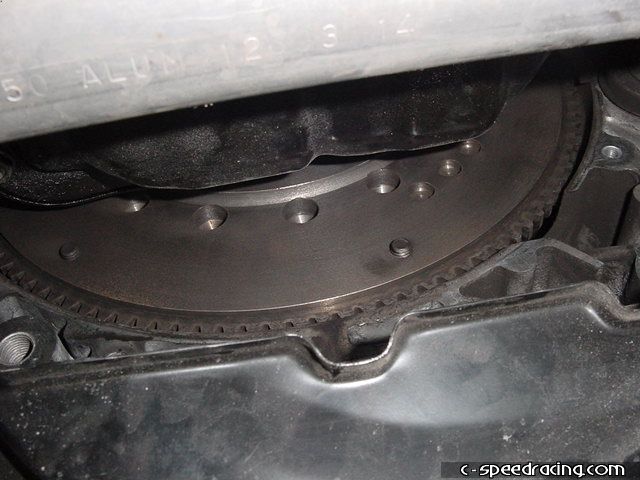
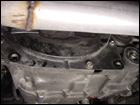
Now you can remove the flywheel cover by removing the 10mm and 12mm bolts holding on. |
 |
 |
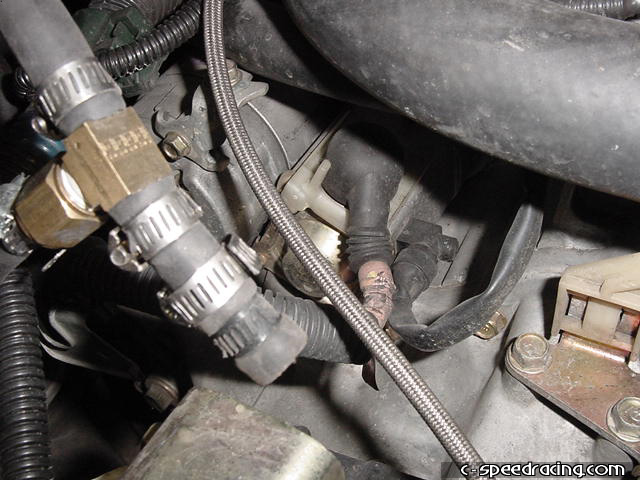
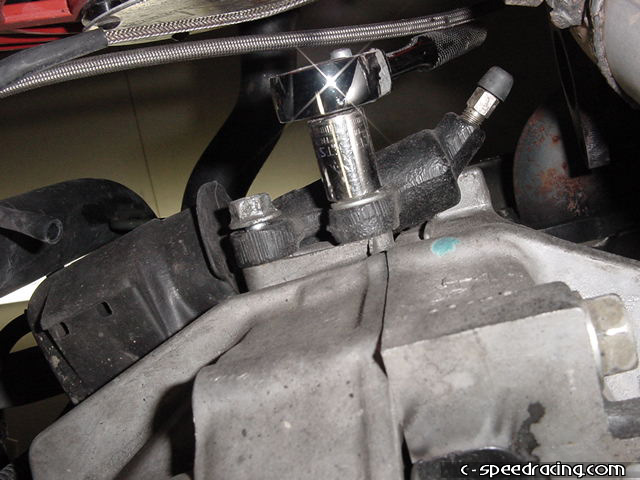
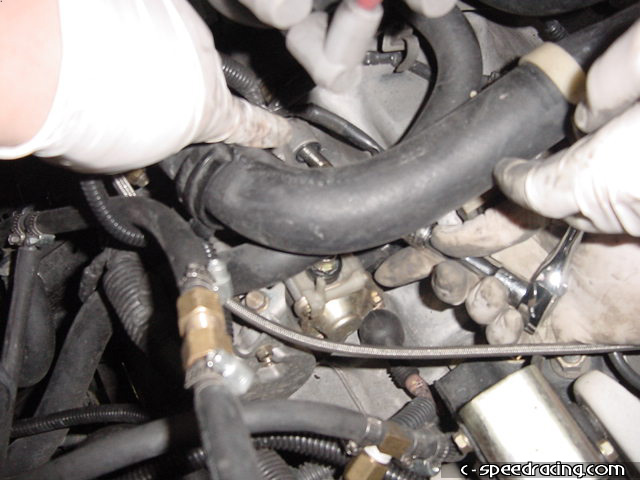
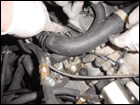
Remove the clutch slave cylinder as well. There are two 14mm bolts. Be careful not to crush or bend the lines when you are manuevering it around. |
 |
 |
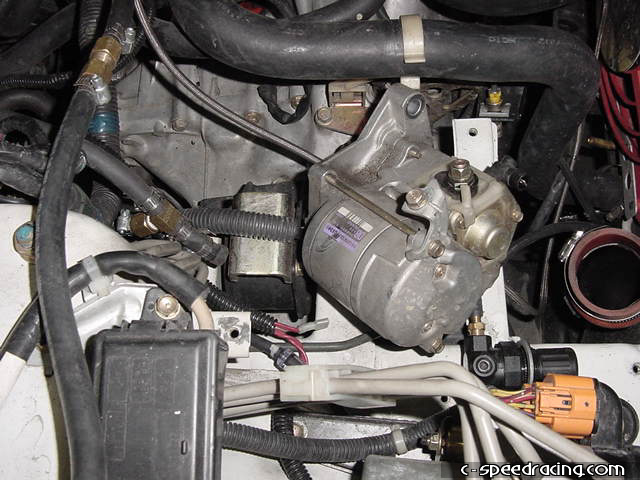
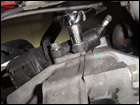
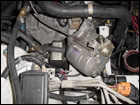
Remove the starter by taking out the two 12mm bolts, one is longer than the other. Make sure you disconnect the ground before pulling it out. |
 |
 |
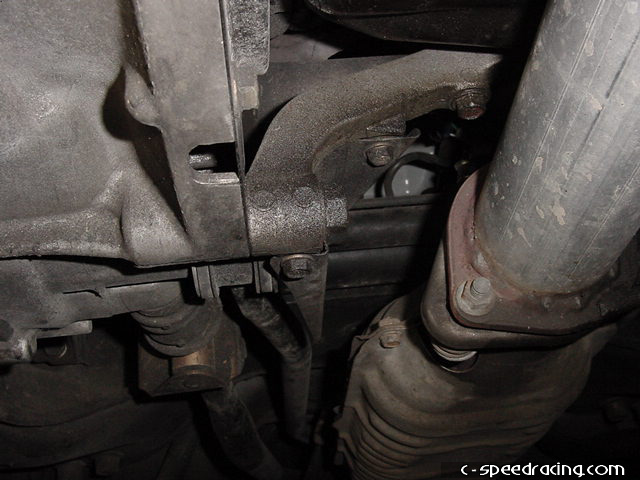
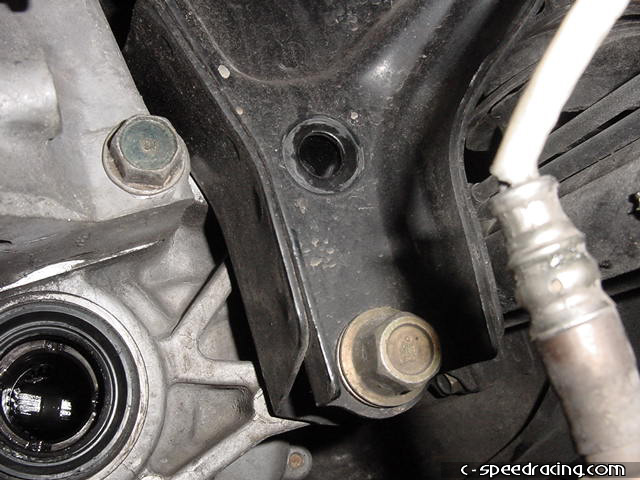
Once the starter is out, the only thing left is to disconnect the rear engine mount. Remove the upper bolt from the transmission. The three lower ones are under the car. |
 |
 |
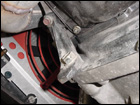
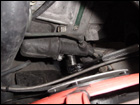
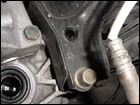
You can see that there are two 19mm bolts holding the rear mount to the tranny and there is an additional one that holds the mount to the frame. Be sure to remove them all and take the mount out altogether. |